
Last Updated on September 9, 2026 by Sheryl Cooper
Inside: Invite your preschoolers to create a foil fish craft for the ocean theme. Recycle cardboard and use scraps you already have!
We finish our school year with the beach and ocean theme, as it’s close to summer. (We aren’t in school during the actual summer, so it works out well.)
My classes in the past have enjoyed these ocean activities:
Today I am sharing a simple fish craft that we can add to the ocean collection.
Our two and three year olds created these, but preschoolers would have just as much fun!
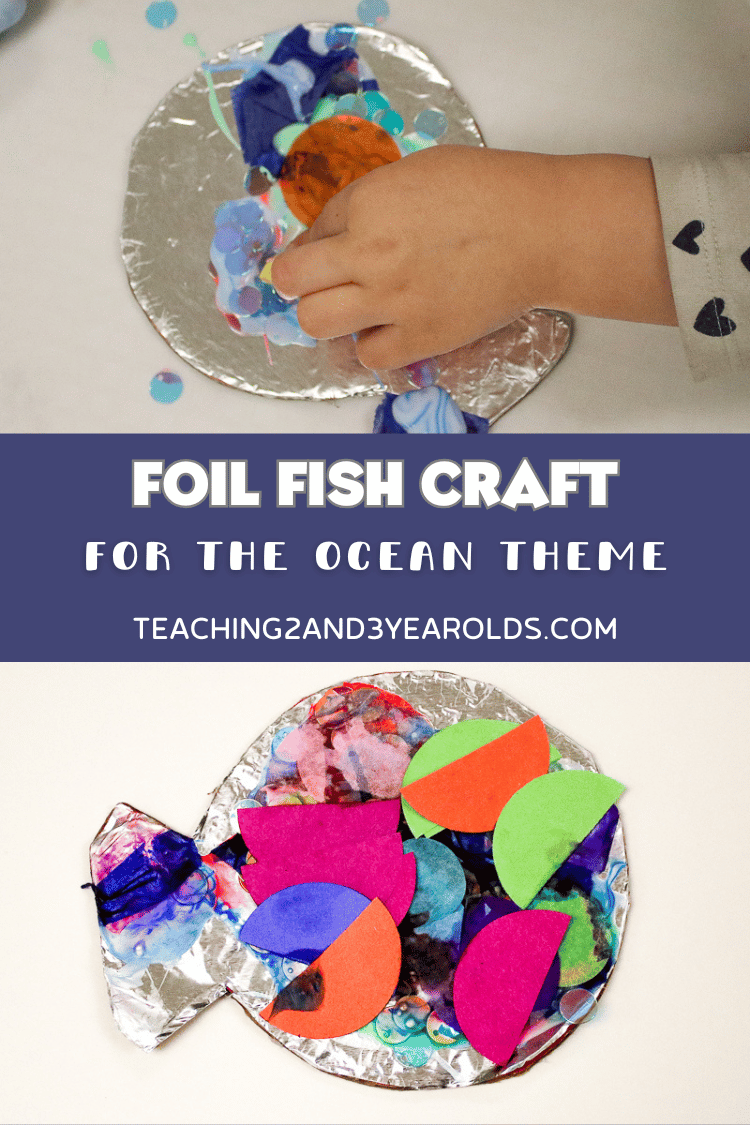
Foil Fish Craft for the Ocean Theme
I love using cardboard for arts and crafts.
Not just because it’s free (when recycled), but also because it’s durable.
Some example of past cardboard projects:
And that’s just a small selection of what we’ve done over the decades!
Watch Video
Supplies
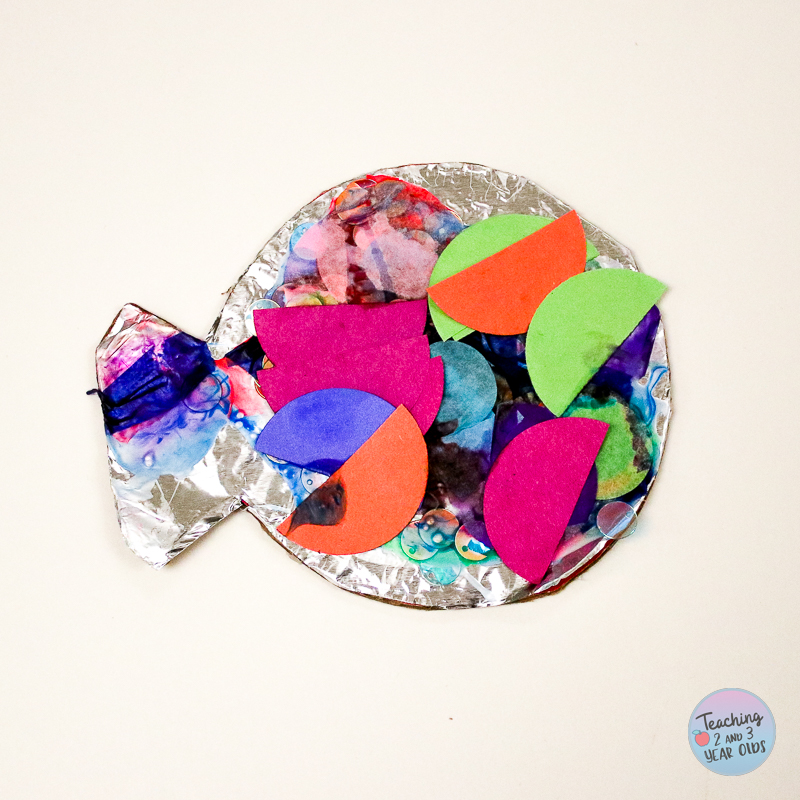
You can add whatever you want to these fish! I happened to have tissue paper and construction paper shapes, so that’s what I used.
- Cardboard
- Aluminum foil
- White glue
- Tempera paint
- Tissue paper circles
- Construction paper pieces
- Sequins
- Glue stick
- Scissors
Preparation
Tinted Glue
First, you can tint your glue. This is optional, but something I love to do.
I put a few drops of tempera paint in each glue bottle. Easy!
For this activity, I chose the brighter colors.
Cut the Cardboard Fish
I didn’t use a template for this. I just found a small round plate and traced around it and added the back fin.
Then, I cut out the shape, making sure each child got one.
Cover with Foil
Rub glue stick across one side of the cardboard fish and press a sheet of aluminum foil on top.
Rub the foil so it’s smooth.
Cut away excess foil.
Note: I always keep a UHU glue stick in my teacher drawer that’s just for me. I find it’s more durable than the glue sticks the children use. (But they are more expensive, hence why the children get the Elmer’s glue sticks!)
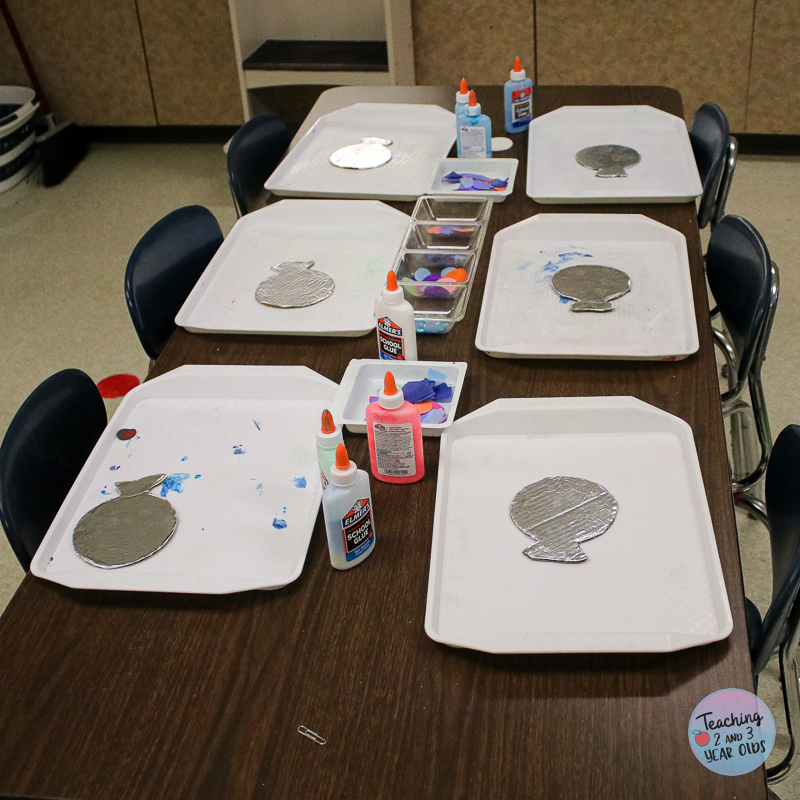
Set Up
I placed trays at our art table, and then placed a glue bottle and a cardboard fish on each one.
In the middle of the table I provided containers of collage pieces.
These are my favorite trays!
The Activity
Now comes the fun part.
Time to decorate the fish!
First, squeeze the glue on top.
If this is your children’s first time squeezing glue, show them how to keep the bottle turned upside down so that the glue will flow out.
They will need to squeeze with both hands.
If they are toddlers or young preschoolers, they most likely won’t be able to get a lot of glue out at once, but there are always exceptions!
If someone has a firm squeeze and the glue is coming out of the bottle quickly, twist the cap a bit to slow the flow.
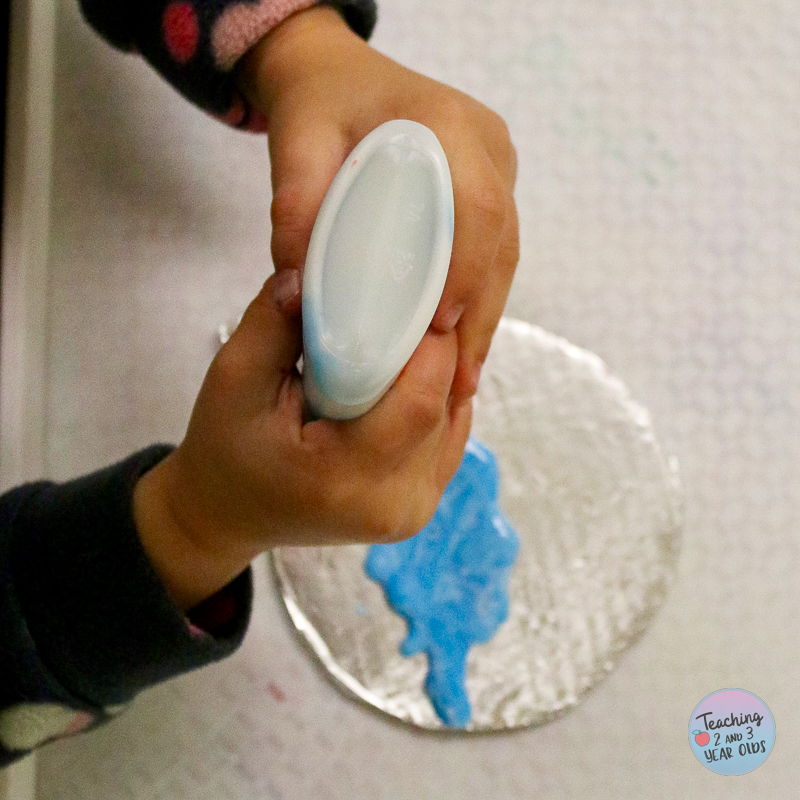
You can also remind them to move the glue around so that it doesn’t puddle in one spot.
I usually say “Make the glue dance!” as they move the glue all around.
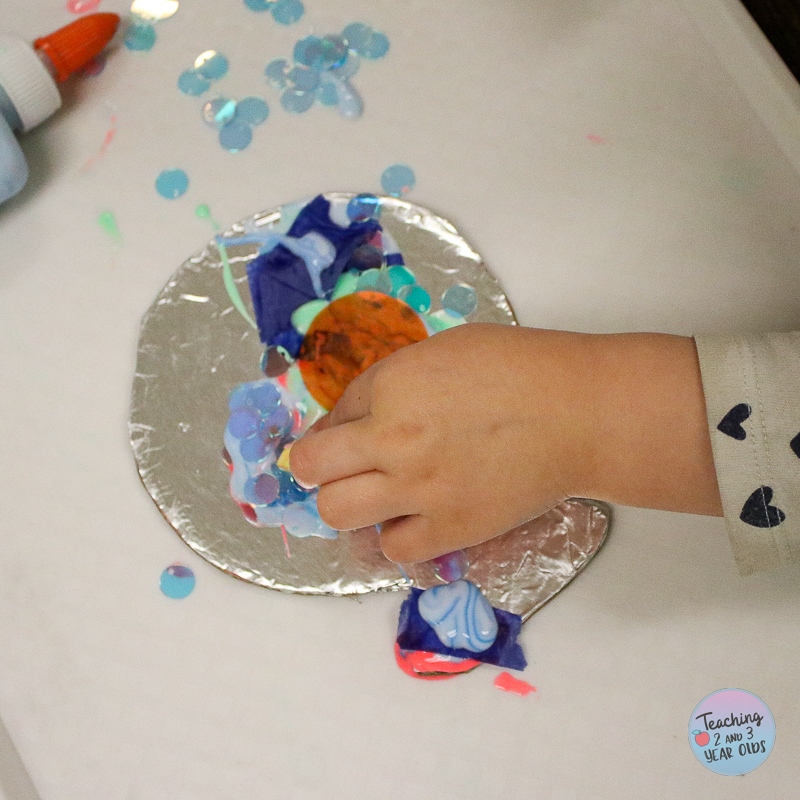
Then it’s time to press the pieces on top.
Make sure the children are pressing their pieces on top of the glue or they won’t stick.
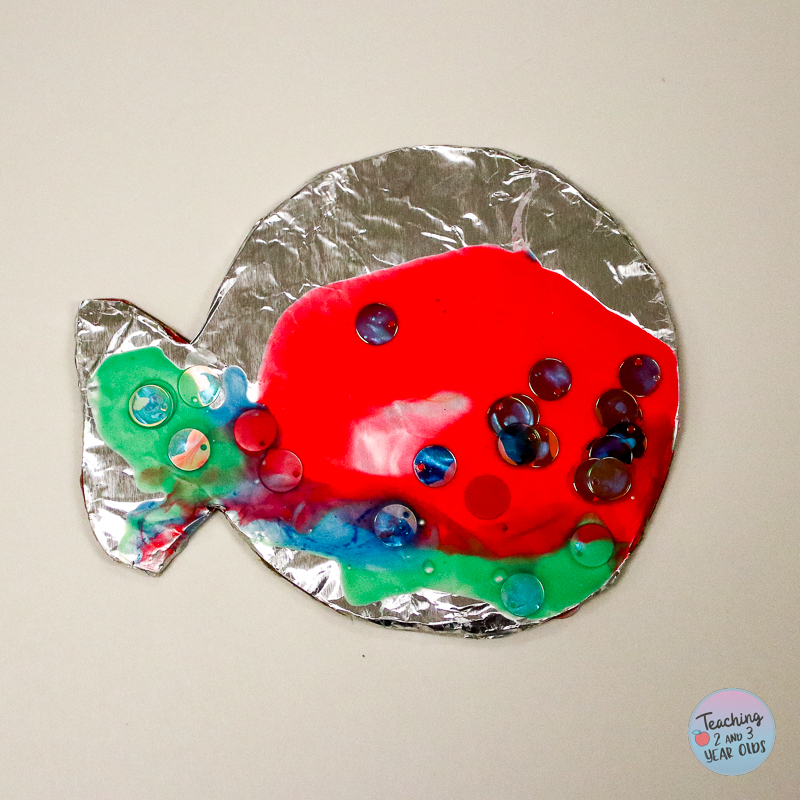
Let the glue dry. Some might take awhile, depending on the thickness of the glue.
More Activities that Involve Squeezing Glue

FREE CIRCLE TIME PLANNER!
Get your FREE circle time planner as a gift when you subscribe to my free weekly newsletters.
Here is my Privacy Policy
