
Last Updated on July 21, 2026 by Sheryl Cooper
Inside: Work on fine motor skills with this colorful toddler Christmas tree window art. Hang them in your classroom window for a fun seasonal decoration!
We love using sticky (ConTact) paper in our classroom!
Toddlers are curious about how the ConTact paper feels and might spend awhile touching it with their fingers before actually pressing tissue pieces on it.
While their fingers are being strengthened with the pinching and pressing, they are creating something colorful that will look cheerful in the window during the Christmas season.
This is also a great activity for a make and take session since nothing needs to dry.
We will definitely be doing this again next year!
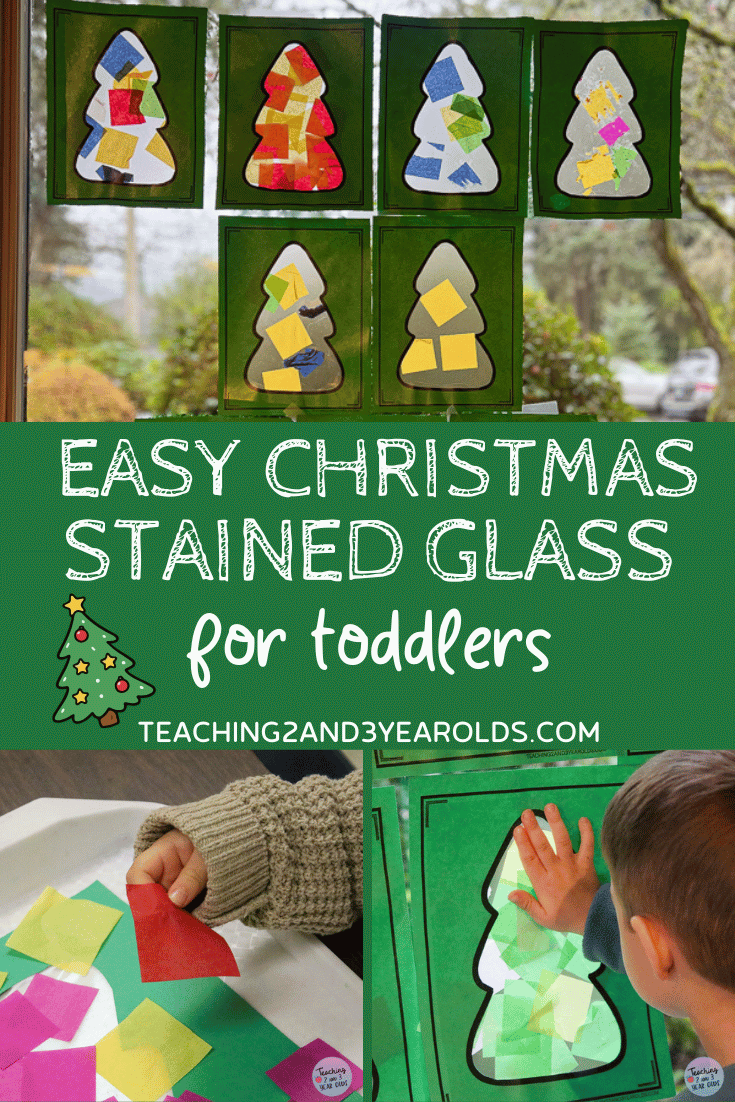
Toddler Christmas Tree Window Art
I’ve been including ConTact Paper activities since I first started teaching. I love how versatile it is!
Some of our favorites:
I even have a post that shares more Contact paper ideas:
Make sure. you always have a roll of this sticky paper in your art cabinet because you never know when you might want to make something colorful to put in your classroom window!
Christmas Tree Window Art Supplies
- ConTact (sticky) paper
- Assorted colors of tissue paper squares
- Green copy paper if you want a green background (otherwise use white)
- Christmas tree shape cut from green paper (see below)
Tree Paper
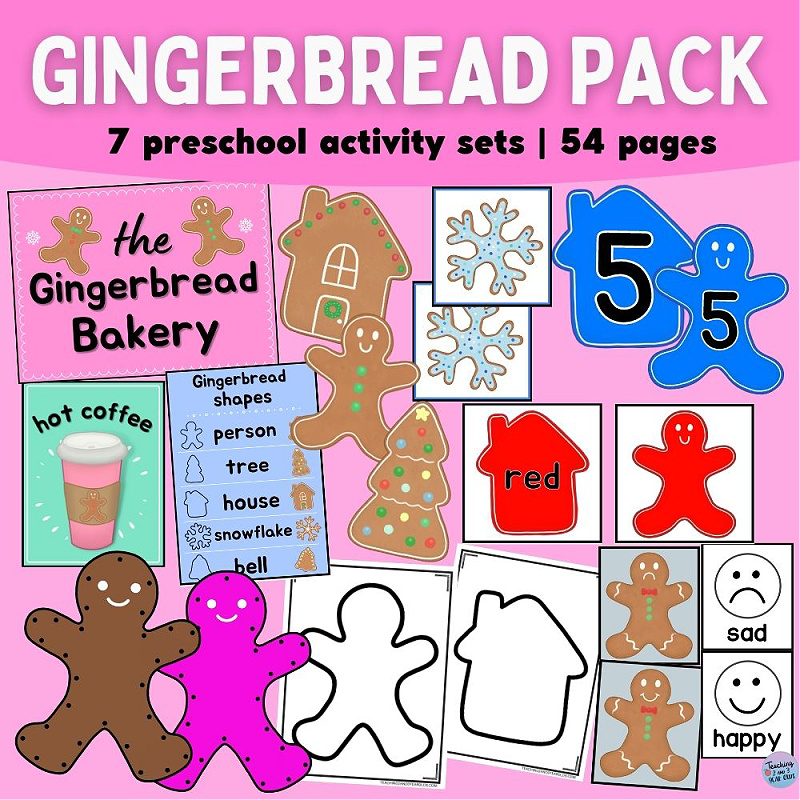
I used the Christmas tree color sheet from our Gingerbread Packet, but I also have a free tree printable in this post.
I printed my trees on green copy paper.
Preparation
Make enough copies of your Christmas tree printable so that you have one for each child.
Cut the tree shape from the paper. You can save these trees to use for another activity!
Cut pieces of ContTact paper slightly smaller than the paper (making sure the negative space will be completely covered).
Remove the paper backing from the ConTact paper but don’t throw it away!
Put the tree paper face down and press the sheet of ConTact paper on top, so that when you turn the tree paper face up, the sticky side will be on the back.
If you are not going to do this activity right away, you can put the paper backing back on the sticky paper to protect it.

Christmas Theme Packet
- 9 Activities
- Download, Print, Enjoy!

How to Make this Christmas Tree Window Art
Remove the protective backing and place the tree on the art table along with a container of tissue paper squares.
If this is your children’s first time using ConTact paper, invite them to touch it.
Some might be curious about the sticky feeling.
Others might not care for it at first.
Show them how to press the tissue paper squares to the sticky part.
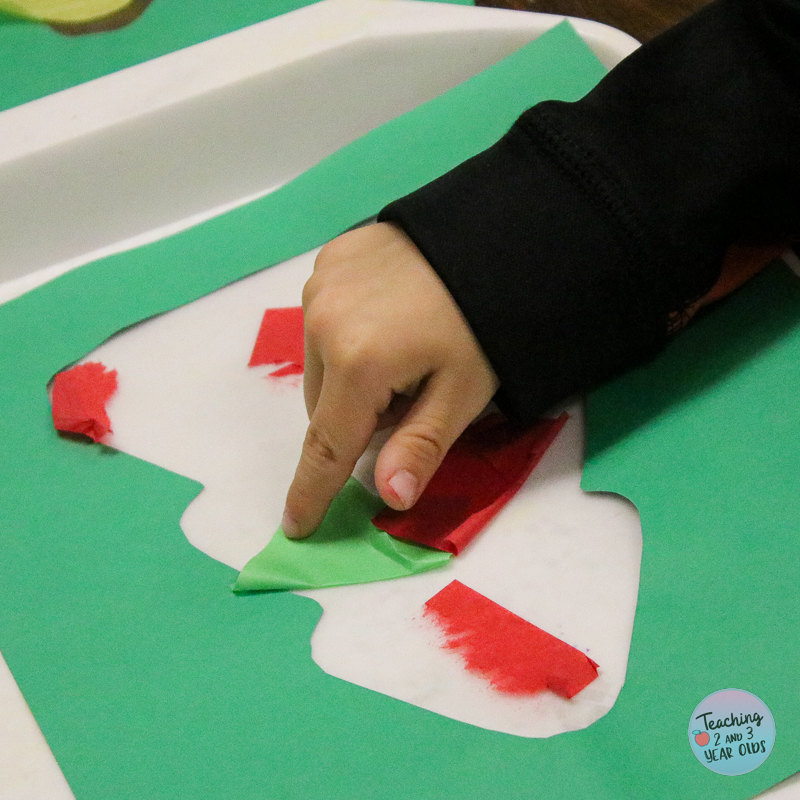
If you look at the photo above, you will notice that part of the red tissue paper square is torn off.
This is because it is common for toddlers to try to remove the tissue paper after pressing it on the sticky paper.
They are curious about pressing the pieces on and then removing them.
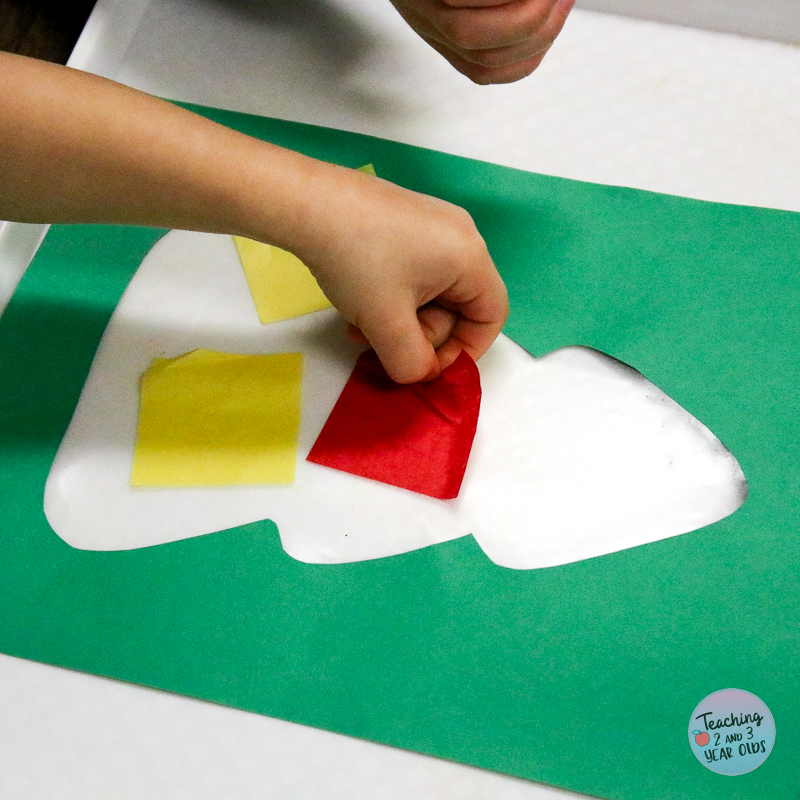
They also might want to try to “stick” the tissue paper square to the outside of the tree where it’s not sticky.
Lift the paper up and show them what happens – that the pieces fall off.
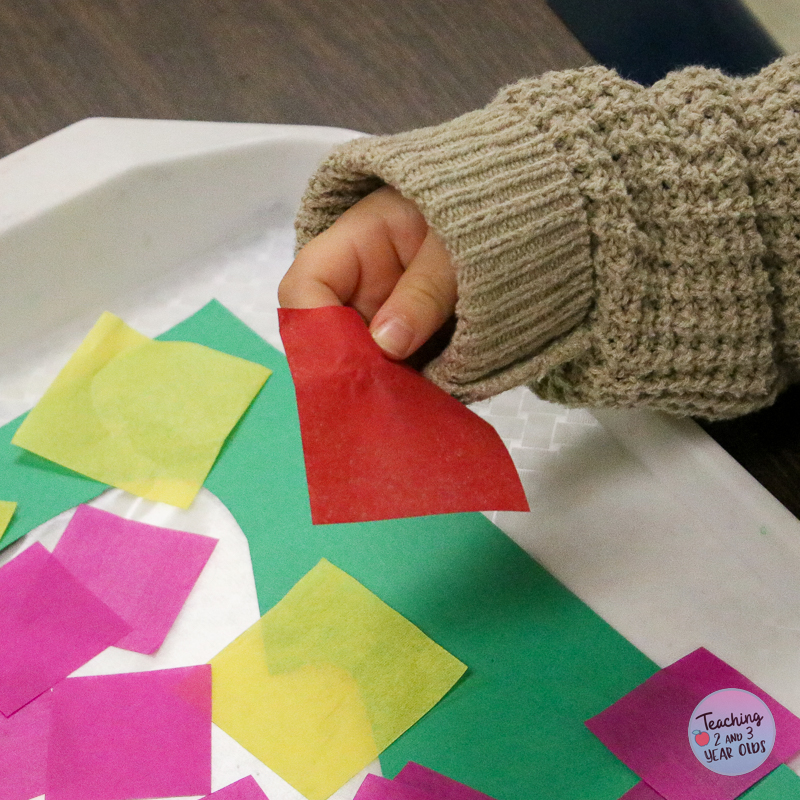
Some might want to cover the entire sticky tree and others might only put a few pieces on it.
It’s all good.
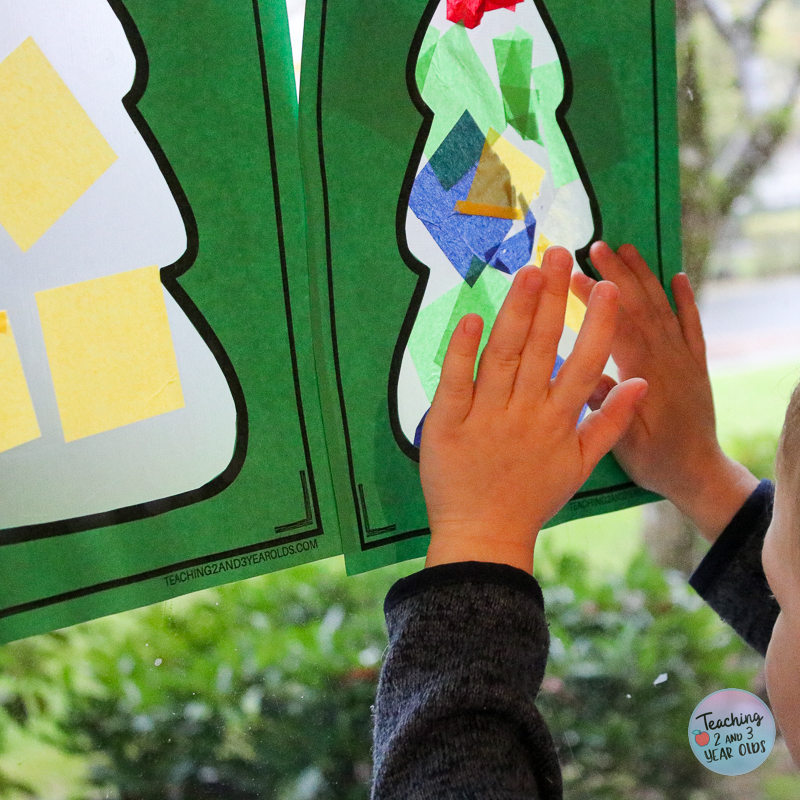
Displaying the Trees
When finished, invite the children to press their trees on the window, sticky side to the window.
If the window isn’t low enough for the children to help with this part, a teacher will need to put them in the window.
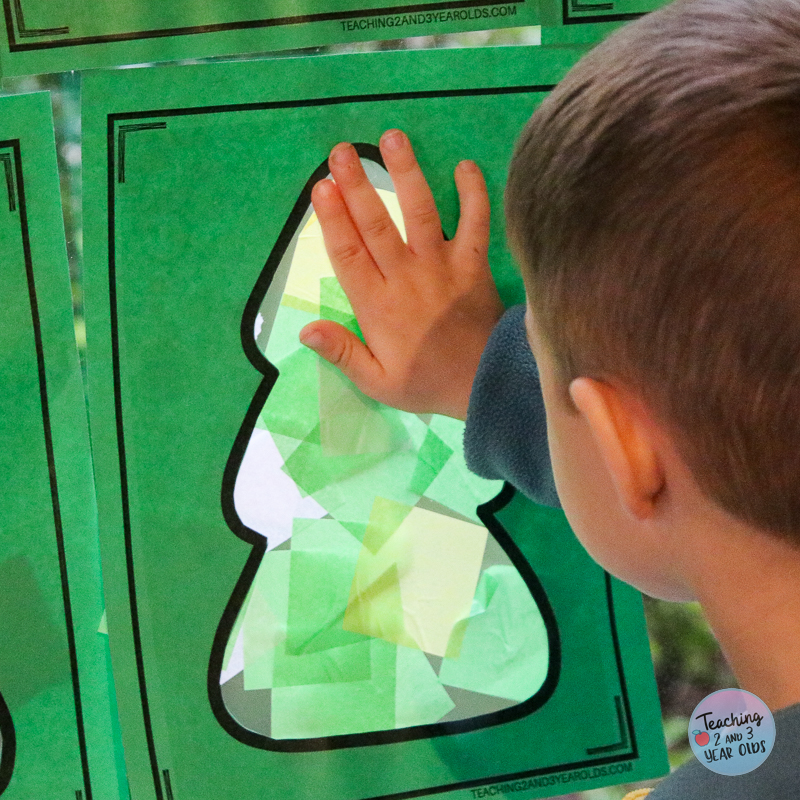
We are fortunate to have low windows so the children only needed to stand on a step stool.
If a tree is completely covered with tissue paper squares, so that no ConTact paper can touch the window, secure the tree to the window with tape.
More Fun with Christmas Trees



FREE CIRCLE TIME PLANNER!
Get your FREE circle time planner as a gift when you subscribe to my free weekly newsletters.
Here is my Privacy Policy
