
Last Updated on September 15, 2025 by Sheryl Cooper
Inside: Learn how to make a simple classroom tree using cardboard and tissue paper with this easy tutorial!
There is something about having a classroom tree that can be so warm and inviting.
In my 20 years of teaching toddlers and preschoolers, I’ve had several different trees adorn a wall in my classroom.
And every time I share any photo with one of our classroom trees, teachers react positively and want to know how they, too, can make one.
Today, I am going to share how my most recent classroom tree was made. Hint: It’s really easy!

Our Simple Classroom Tree
Last year was one of my first in quite awhile not having a classroom tree and I missed it tremendously.
The church that our preschool resides in had done a remodel of the children’s wing and repainted all the walls.
While I loved that we were getting a fresh coat of paint, I was very sad to take down the tree that hung so nicely in our reading area.
Once the fresh coat of paint was on the walls, the tree was never replaced.
I missed it terribly. It just felt like something was missing the entire year. I loved entering the room each morning being greeted by that tree!
Fast forward to this summer.
While I was visiting my classroom I noticed a row of cardboard and paper trees attached to the walls in the church’s hallway, leftover from Vacation Bible School. I knew one of them would be perfect for our classroom! My director got the approval for each classroom to have one, if the teachers wanted them. It took me all of one day to get that tree on our wall.
Thankfully these trees were designed to move pretty easily, thanks to having a cardboard back. (Something I never even thought of while creating previous classroom trees.) I was able to assemble it in a timely manner.
Let me share a simple tutorial with you, in case your classroom is begging for a tree!
How to Make a Simple Classroom Tree: The Tutorial
Supplies used:
- Cardboard
- Brown lightweight paper
- White or green poster board
- Light and dark green tissue paper
- Glue
Creating the Trunk and Branches of the Classroom Tree
Draw (freehand, you can do this!) the tree and then cut it out. I’m sure some sort of Xacto knife (or similar) was used.
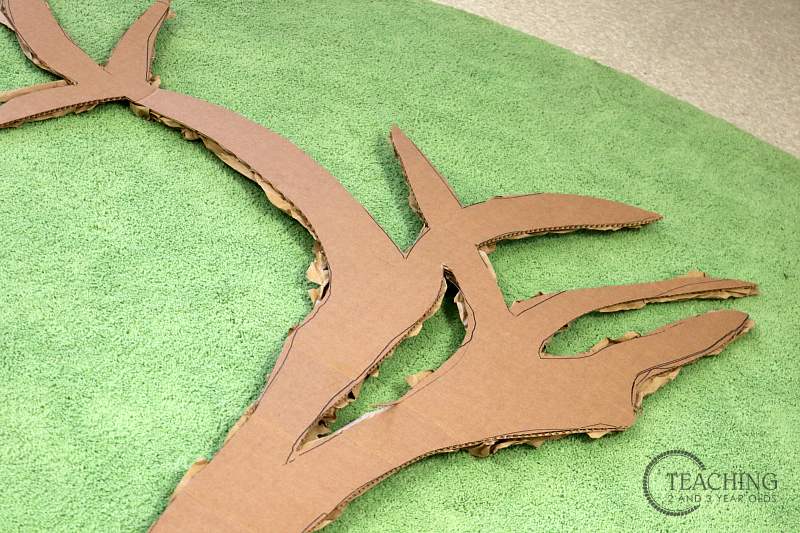
Then take the tan paper, wad it a bit for texture, and attach it to the cardboard using glue. Wadding it up a bit is what gives the texture, making it look more like wood.

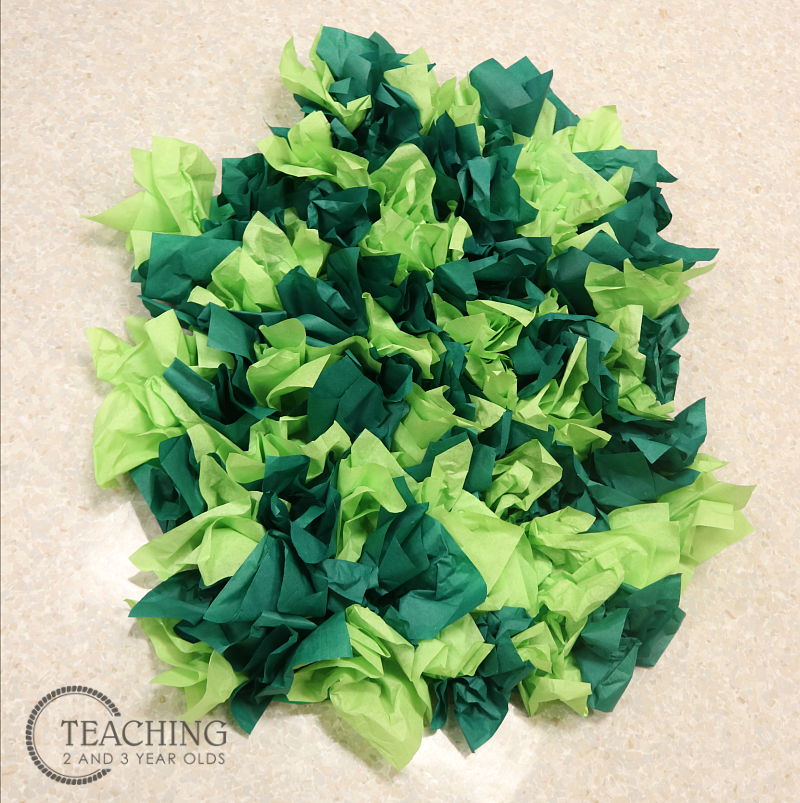
Now it’s time for the leafy part of the tree.
Cut out a section of poster board as shown below.

Next, take the light and dark tissue paper and wad them up.
Glue or staple them to the poster board.
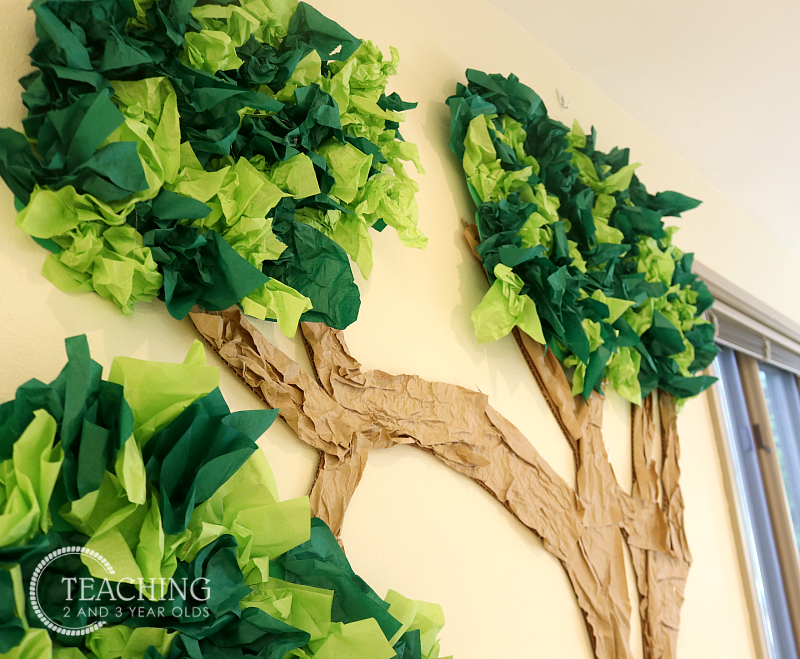
Assembling the Classroom Tree to the Wall
Once everything is completely dry, it’s time to get it up on the wall.
First, take the base of the tree and attach it. We used thumbtacks and it didn’t require too many.

Then, add the “leaves”. I kept this pretty simple, as you can see in the next picture.

And that was it!
It’s very simple. You can alter yours if you want “more”.
That’s what I love about it.
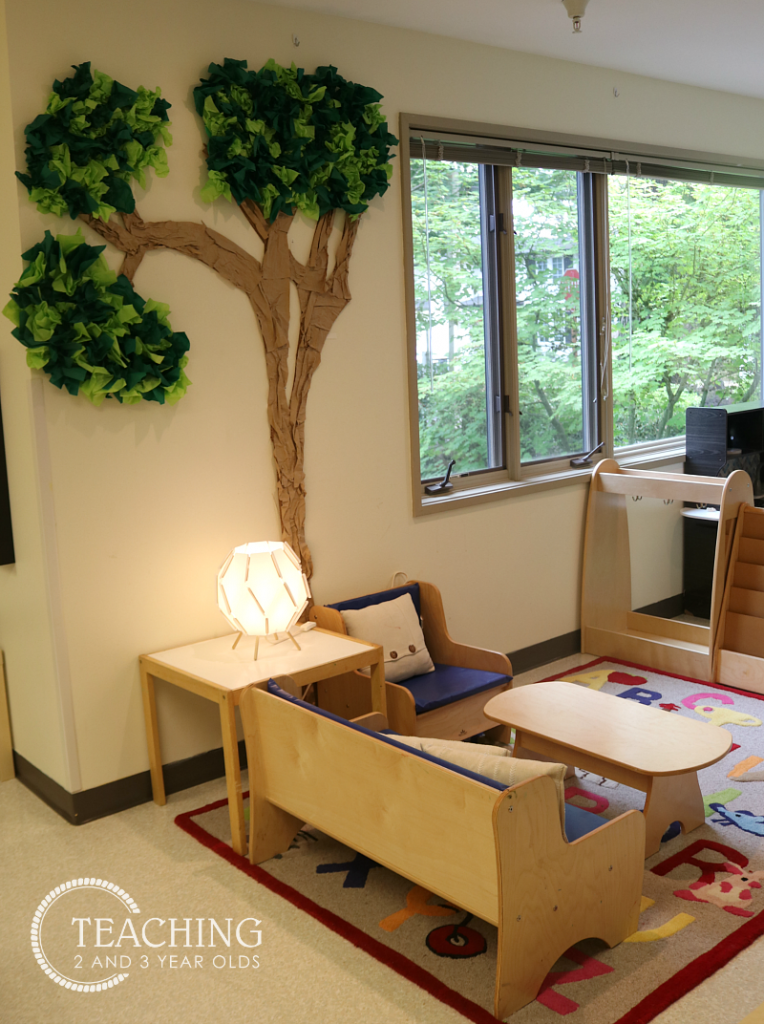
Once again I have a tree in my classroom!

Apparently you all are as excited as I am. This photo got a lot of love on Instagram:
FREE CIRCLE TIME PLANNER!
Get your FREE circle time planner as a gift when you subscribe to my free weekly newsletters.
Here is my Privacy Policy
I’ve been thinking of making a tree in my classroom too. Your tips that you’ve shared made it easy. Sincerely, thank you for sharing
You are very welcome!
I hope you make a tree for your classroom, because it’s really that easy!