
Last Updated on November 22, 2025 by Sheryl Cooper
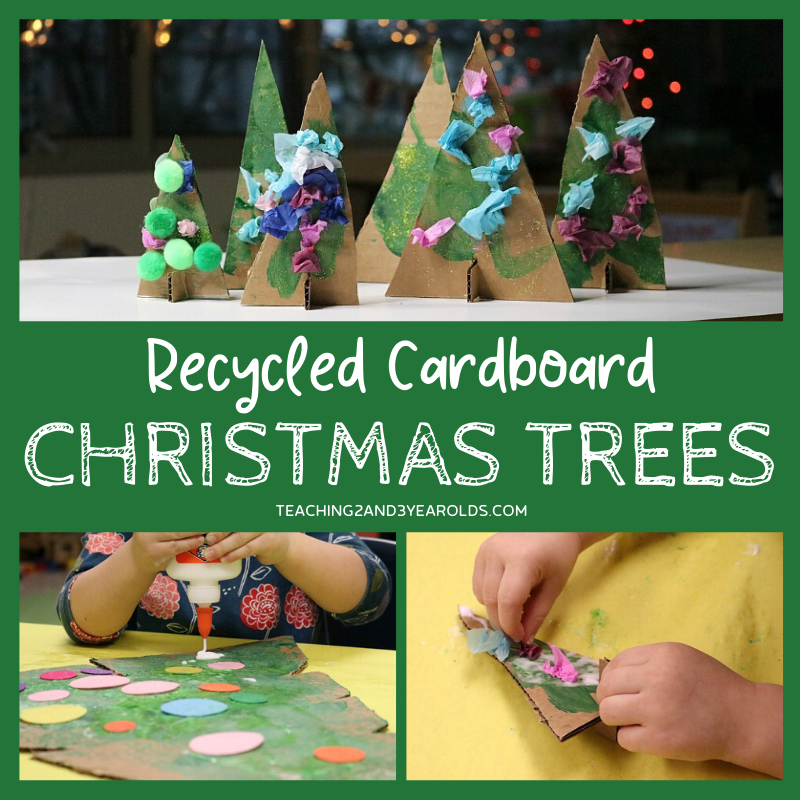
Inside: This cardboard Christmas tree is a fun recycled art activity that makes a nice decoration for the home or classroom. Can be done as a group or independently!
Making Christmas trees out of cardboard is super simple and fun.
This time of year many of us probably have some extra boxes at home if there is online holiday shopping involved.
At least that’s what happened to me.
When a large box was delivered to our front porch, the first thing I thought was, “I’ve got to save that for a school project.”
Spoken like a true teacher, right?
And then, after being inspired by something I saw in a department store, I knew just what we’d make.
Cardboard Christmas tree art!

Cardboard Christmas Tree Art Activity for Kids
Watch the Video
It all started with a trip to the mall.
As my husband and I were walking through the men’s department, I noticed a display of cardboard trees standing on the side of the aisle.
Yes, I was that person who picked one up and checked out how it was put together.
I realized our toddlers and preschoolers could make their own version that would be a fun decoration for our classroom.

Christmas Theme Packet
- 9 Activities
- Download, Print, Enjoy!

Two Sizes
Originally I only thought we’d make a couple of large trees that all of the children could work on together.
But then I decided that they could also work independently on their own smaller versions.
Both sizes could be displayed in our classroom and then the children could take their smaller trees home for winter break.

Their Own Work
This time of year there is so much cookie cutter art taking place.
I wanted an activity where they could add their own touches so that each tree looked different. Process art!
While our trees were quite simple, you can raid your storage closet and find quite a variety of small pieces.
The children can pick and choose what to add to their trees to make them unique.
Check out how No Time for Flashcards used buttons on their stand-up trees here!
Supplies
- Cardboard
- Green paint
- White paint
- Glue
- Colored felt circles
- Colored pieces of tissue paper
- Pom poms
- Paint brushes and/or rollers
Cutting Out the Trees
Large Trees
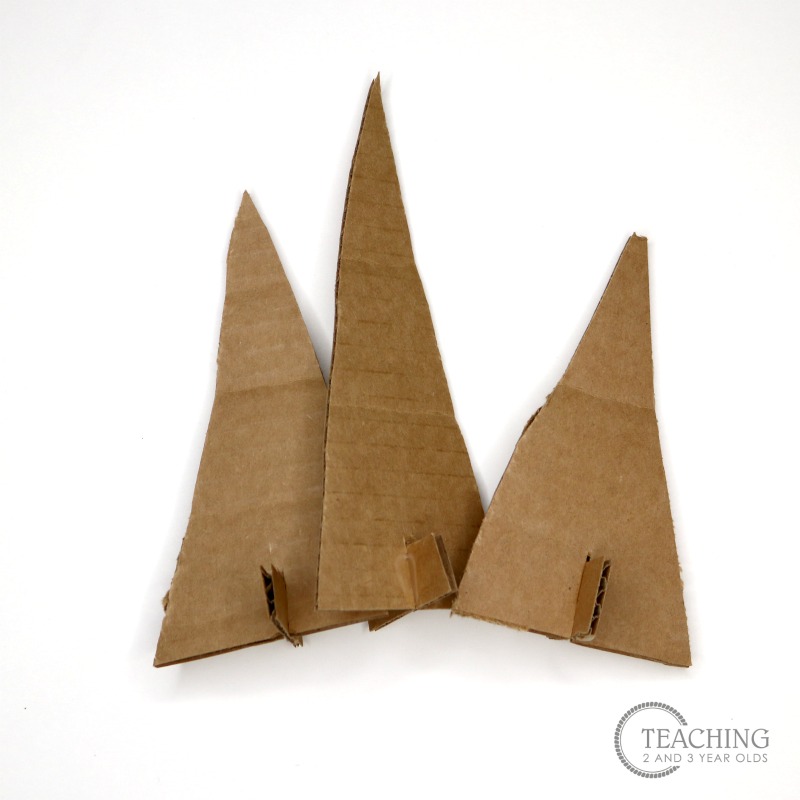
Cut large triangles from cardboard and create a slit in the center of the bottom.
Then, reserve a rectangle piece of cardboard that will be inserted into the slit to act as a stand.

Smaller Trees
Cut smaller trees from cardboard and create the same sort of stand.
Since these pieces were much smaller than the large trees, I glued the stands in place prior to painting.
Preparation
Pour paint into trays and provide rollers and/or brushes.
We like using rollers because they provide large motions, getting the entire arm and shoulder involved.
The Activity
Since this was a group activity we had several brushes and rollers available so children could work at the same time.

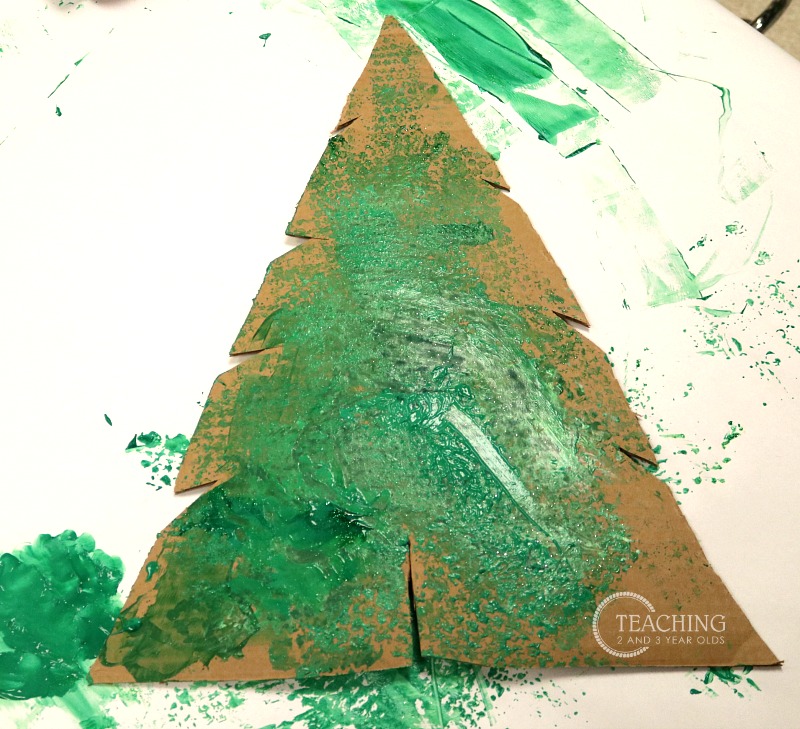
It’s easier to use brushes for the smaller trees since there isn’t as much surface.

Let the trees dry thoroughly.
This was a 2 step process for us. The painting took place one day and the details were added the next.
Adding the Details
Place trees on a flat surface and squeeze glue all over.
Provide rollers and/or brushes.
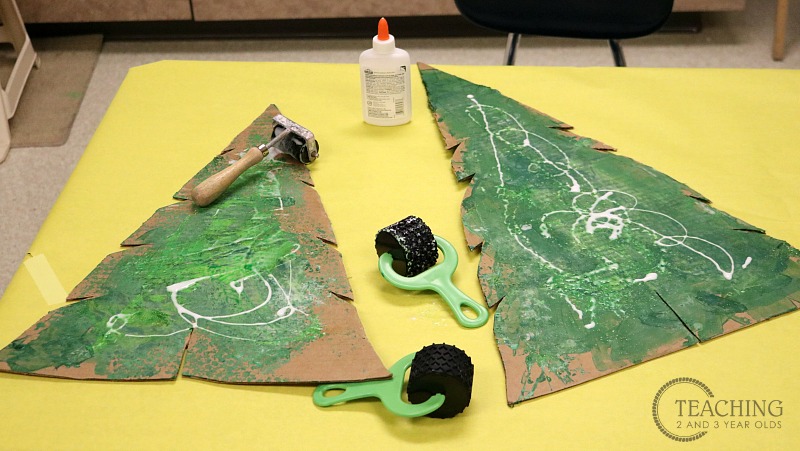
Invite the children to move the glue around the cardboard trees.

You can also give the children bottles of glue and let them squirt the glue on the trees themselves.
Squeezing is a wonderful way to strengthen fine motor skills. Just keep an eye on how much glue is coming out and encourage the children to move the bottle around so it’s not creating one big puddle.
And yes, supervision is needed because they will want to keep on squeezing and squeezing and squeezing ……
Related: Why Squeezing Glue is So Important

Once the glue is on the tree, it’s time to press the small pieces on top.
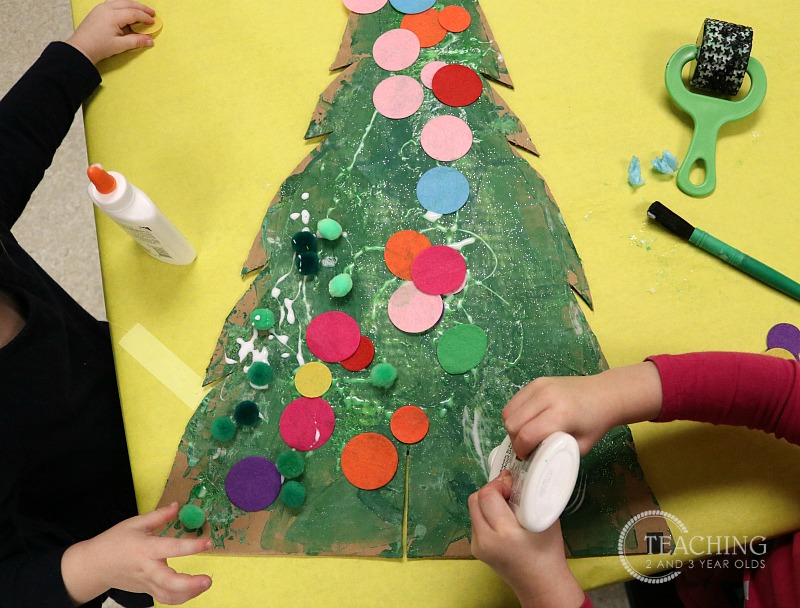
For the smaller trees, we took small pieces of colored tissue paper and wadded them up.
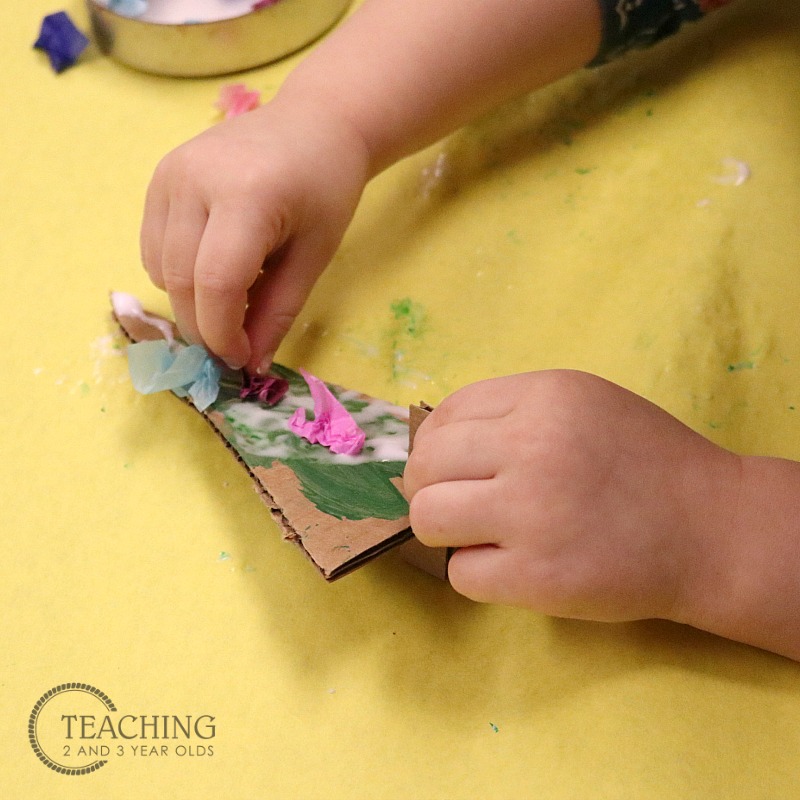
Picking up the small pieces and pressing them onto the glue is a great fine motor activity.

Decorate the Room
Once the details are on the trees, let them dry thoroughly. Place the cardboard rectangles in the slots of the larger trees so they can stand on their own.
It’s then time to find places to display them.
We actually moved ours around a few times!

I love how they turned out, and they helped make our classroom look so festive!
More Christmas Ideas


Amazon Christmas Favorites

FREE CIRCLE TIME PLANNER!
Get your FREE circle time planner as a gift when you subscribe to my free weekly newsletters.
Here is my Privacy Policy
Awesome tree idea for 3’s!!!
Excellent idea – I’m actually doing this for a service this weekend. Thank you for the idea!
You are so welcome! They are fun to make!