
Last Updated on July 14, 2026 by Sheryl Cooper
Inside: Put your farm puzzle pieces to even more use…in a toddler farm sensory bin. Easy and fun!
I love being able to use something in different ways, and that includes puzzle pieces!
You know those big chunky wooden puzzles?
Yes, those puzzle pieces!
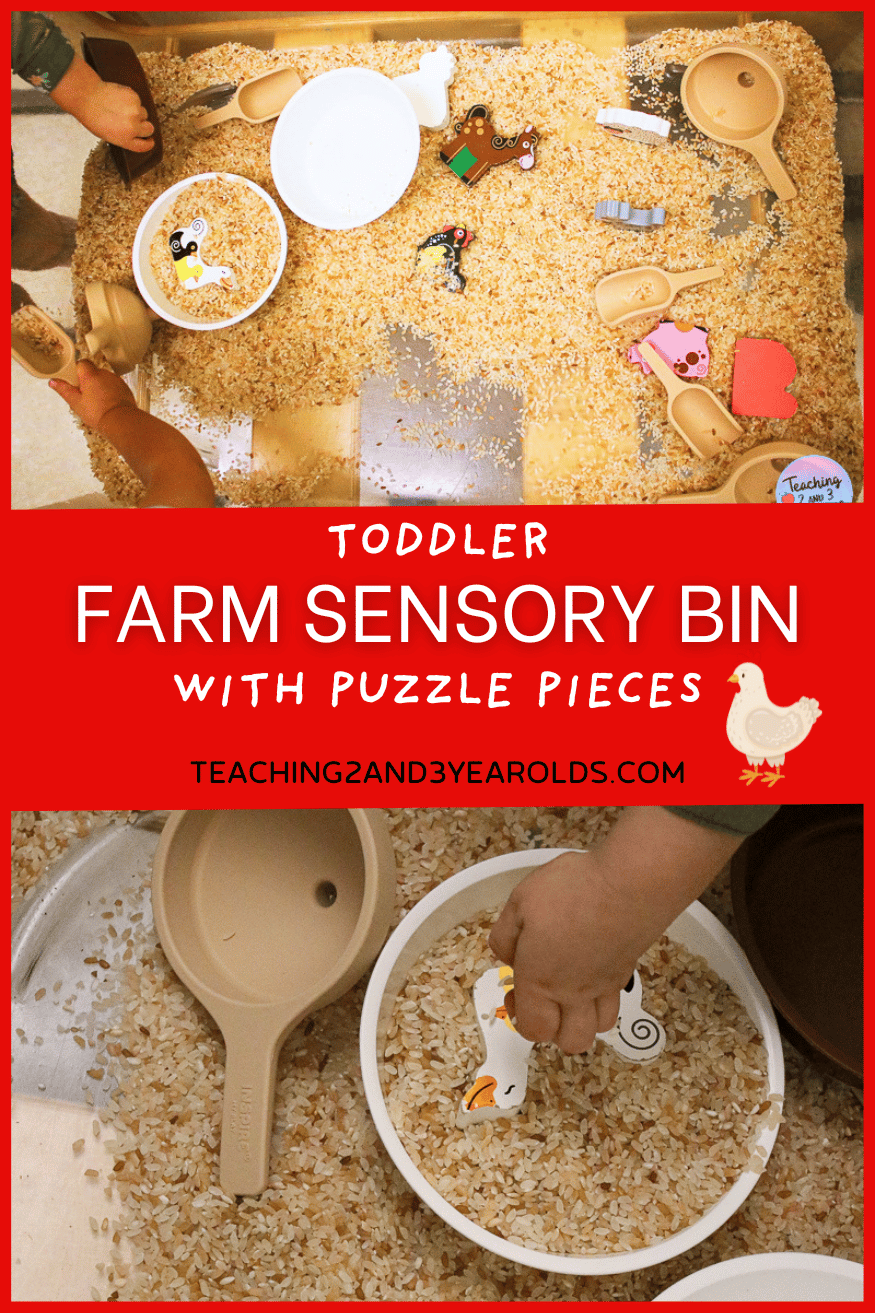
When I was creating the sensory bin for our farm theme, I noticed we had two of the same chunky farm-themed puzzles, so I decided to take the pieces out and place them in the sensory bin with other materials.
Chunky puzzle pieces fit well in little hands and toddlers love moving them around.
Let me show you how easy it is to put this toddler farm sensory bin together!
Watch the Video
Toddler Farm Sensory Bin Using Puzzle Pieces
Supplies
- Dyed Rice (see below)
- Scoops, bowls, funnels
- Wood farm puzzle pieces (ours were from this farm puzzle)
How to Dye Rice
- Grab a gallon sized plastic baggie that can be sealed.
- Pour about a cup of rice inside the bag.
- Add about a teaspoon of white vinegar.
- Add as much coloring as desired. (I love using Wilton icing color!)
- Seal the bag and shake until the rice is coated well.
- Open the bag and dump the rice onto a paper towel, spreading it out so it’s a very thin layer.
- Allow to dry thoroughly.
If you want to have different colors of rice, do the above procedure for each color and then, when dry, mix the colors.
Once you have your rice, just add desired accessories to the sensory bin and you are ready to go!
If you want more inspiration, check out these other dyed rice sensory bins we’ve loved:
Rice and Funnels Fine Motor Sensory Play
Set Up
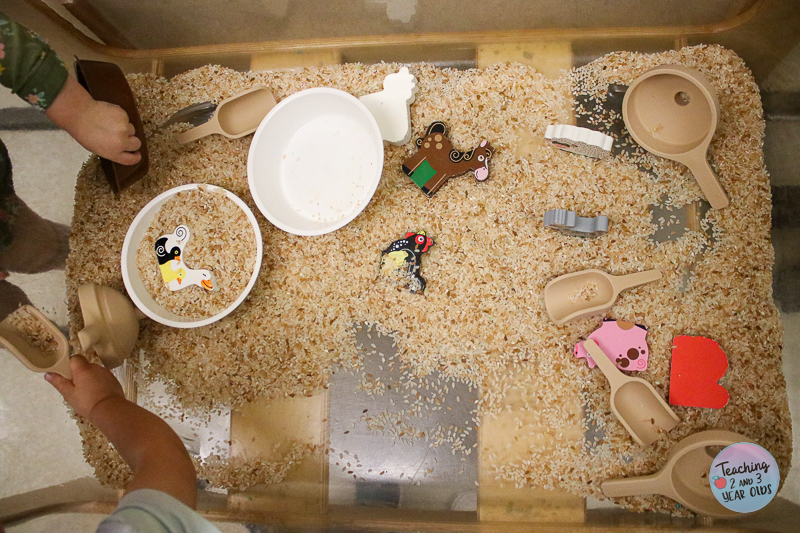
Fill bin with dyed rice.
I try to always keep our rice level low to prevent spills. It doesn’t always work, but there’s definitely less than if I had put more in it.
Then, add scoops, funnels and bowls.
Remove the wood farm animals from the puzzle frame and add to the sensory bin.
Invitation to Play
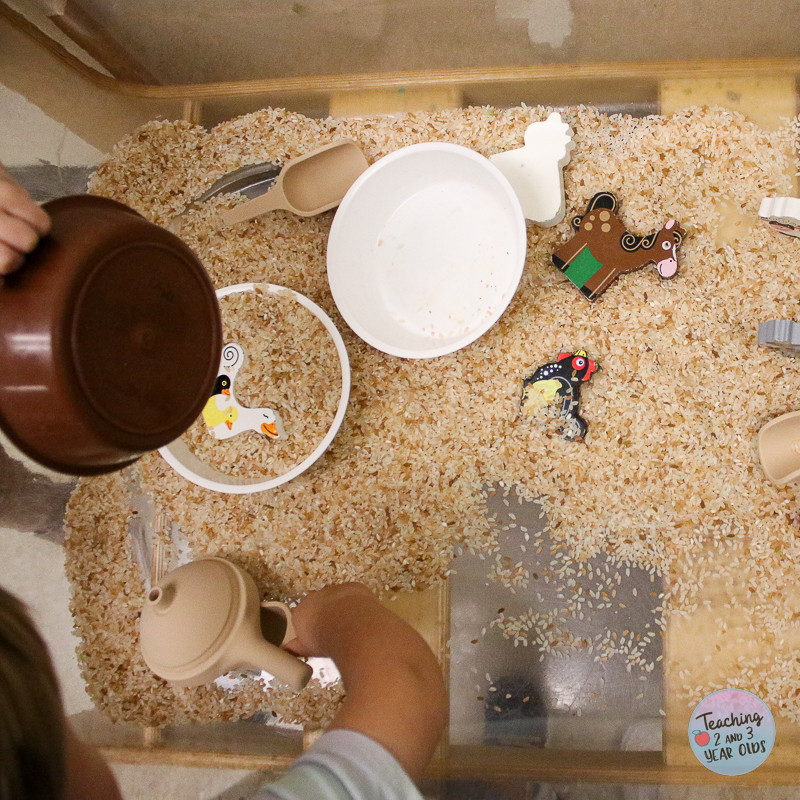
Our sensory bin is opened during free-choice centers time.
So, as soon as centers time begins, children can be at any open center, including sensory.
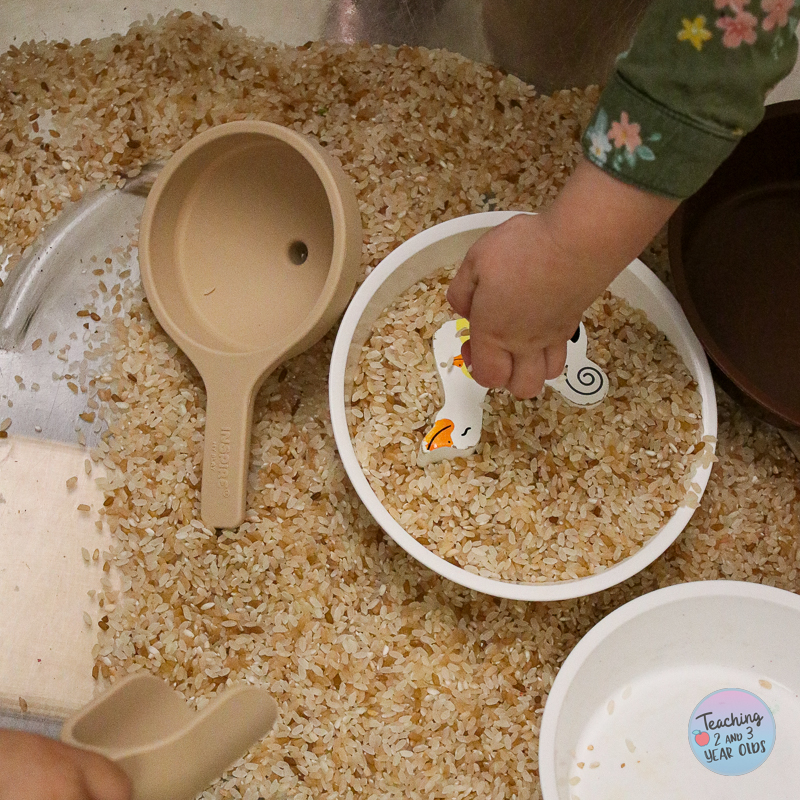
There isn’t a lot of directions needed for a sensory bin, except for a big rule of keeping the sensory materials IN the bin.
And does this actually happen?
Sometimes!
Let’s just say it’s always a work in progress.
This is why I keep a shallow amount of filler in the bin and a small broom underneath.
We work all year long on not dumping the contents on to the floor.
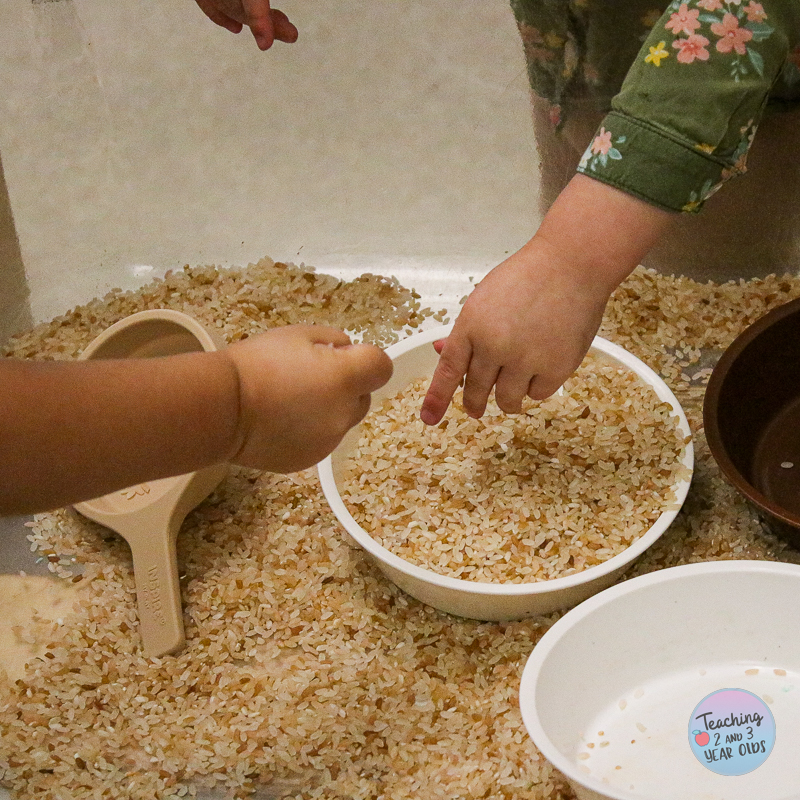
What I really love about the sensory table is all the opportunities to work together.
It’s not a large space, so sharing is a must.
This can be hard for 2 and 3 year olds!
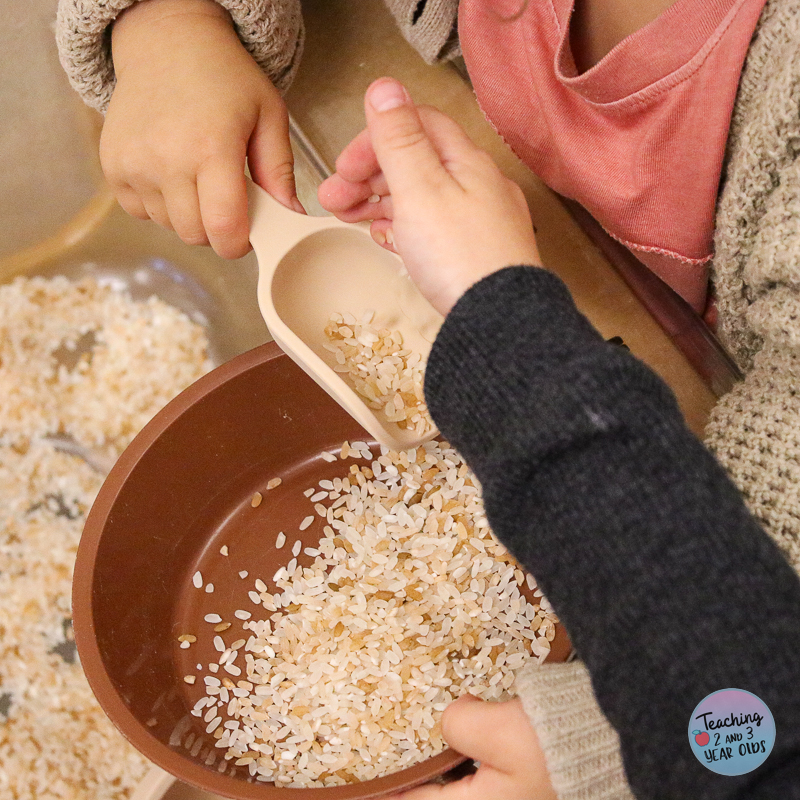
The sensory bin is also a good place to work on communication skills, especially when someone has something that the other child wants.
It’s not always perfect – we do have some grabbing – but like I said above, it’s always a work in progress.
Extension
Place the farm puzzle tray in the bin and invite your children to pull the puzzle pieces out of the rice and place them in the tray!
More Sensory Bins for Toddlers


FREE CIRCLE TIME PLANNER!
Get your FREE circle time planner as a gift when you subscribe to my free weekly newsletters.
Here is my Privacy Policy
