
Last Updated on October 22, 2026 by Sheryl Cooper
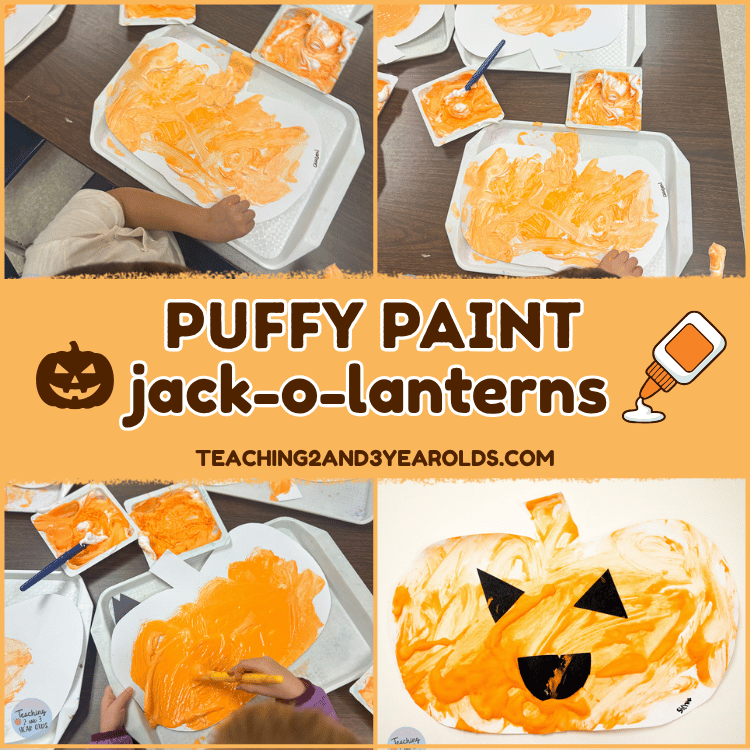
Inside: Need a simple preschool Halloween activity? Try these puffy paint jack-o-lanterns for a fun painting experience!
I’ve been getting plenty of messages asking if I could also share what the other classes in our preschool are doing.
If you check out my stories on my Instagram account, I often will give weekly classroom tours so my followers can see what is happening.
On this particular day, the three and four year olds were decorating pumpkin shaped paper using puffy paint and pumpkin face pieces.
I decided to share this activity with you all because it’s simple, hands-on, and makes a fun classroom decoration.
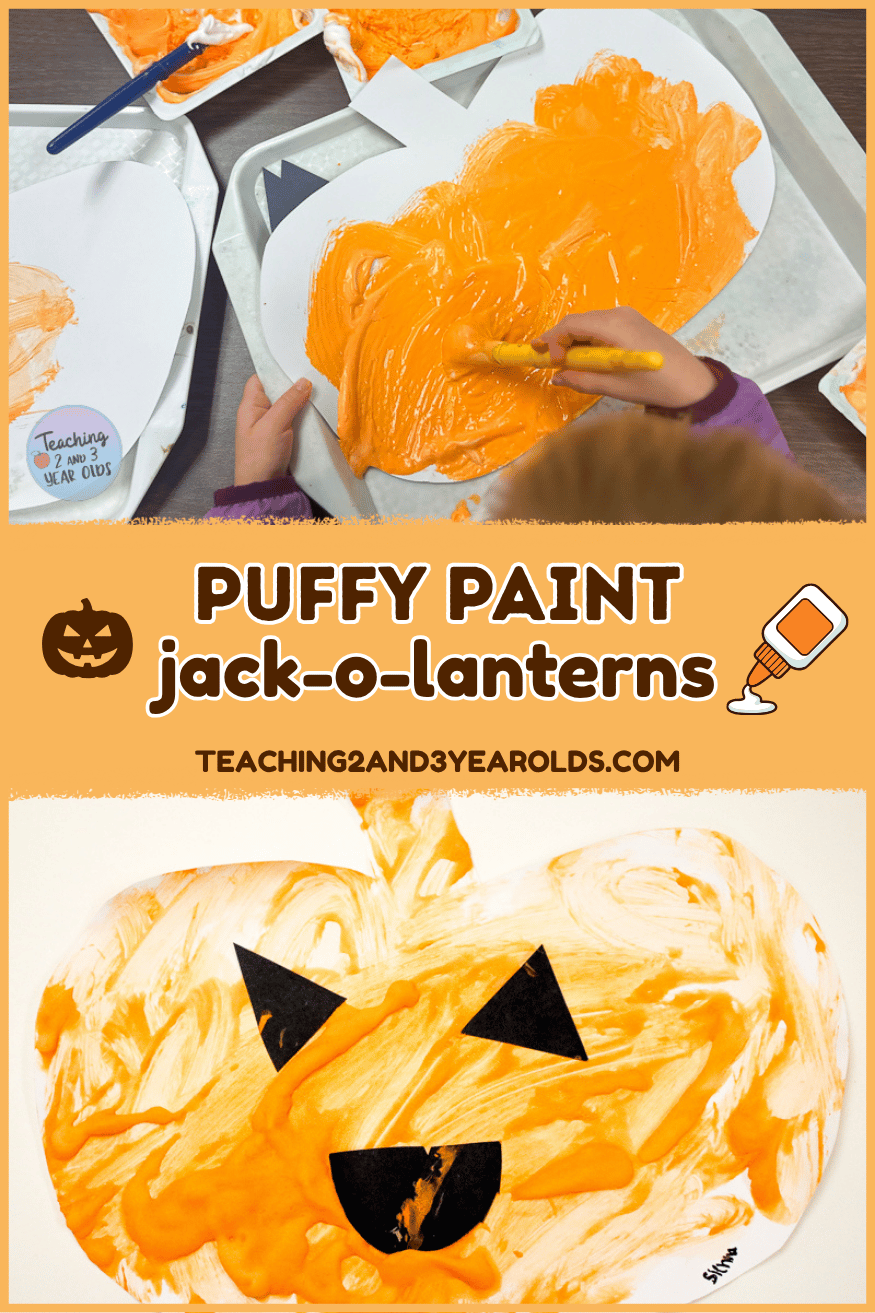
Easy Puffy Paint Jack-o-Lanterns
Why We Love Puffy Paint
I love anything that is three dimensional as it just adds a little extra to the art activity. I’ve found that my toddlers and preschoolers love working with anything 3D at the art table, so I provide 3D activities often.
Working with puffy paint is also a great sensory experience. Little fingers often cannot resist touching the foamy paint! It’s a great opportunity for them to explore textures.
Note: If your young child is hesitant to work with puffy paint, consider first doing something in a bag, such as our muddy pigs activity. The fingers can still experience the puffy feeling, yet not actually touch the shaving cream since it’s contained in a bag. Eventually you can progress to actually touching the materials.
Puffy paint works fine motor skills, too, and I am always happy about that! It takes a bit more effort to work the paint brushes through puffy paint because of the glue and shaving cream.
Supplies
- White glue
- Shaving cream
- Orange tempera paint
- Black construction paper
- Paper for pumpkins (see below)
About the Glue
Most recipes call for PVA glue, but I’ve always used what we already have, white school glue. Puffy paint probably turns out even better if you use the PVA glue, so I will let you decide. Our simpler version has worked just fine for our activities.
I’ve also seen some puffy paint recipes that use flour, but I feel more comfortable using my simple recipe.
About the Pumpkin Paper
The 3’s teachers used regular weight paper, but I would suggest using heavier (cardstock) paper. This is more durable for the heavier puffy paint. I’ve noticed that when regular weight paper is used, it is not strong enough to support the puffy paint.
About the Paint
The 3’s teachers used tempera paint, but you can also use liquid watercolors or food coloring.
Preparation
Cut your white paper into pumpkin shapes.
Cut eyes, nose, and mouth from black construction paper.
Put the glue, paint, and shaving cream in individual containers. (See below for directions.)
Directions for Making Puffy Paint
Add equal parts white glue and shaving cream to each container, and then add tempera paint.
Stir well.
Note: I often let my students mix the ingredients with a paintbrush or craft stick. Make sure they mix it well!
Set Up
If using trays, place those on the art table. (These trays are our favorite.)
Then, set the paper pumpkins on top.
Place the containers of puffy paint on the trays along with paintbrushes.
The 3’s teachers also placed the facial features on the trays as well.
Note: I also like to provide a visual with many of my art activities. For this one, you could display a photo of a jack-o-lantern, for example. Or have a real carved pumpkin available to look at. Visuals are important so the children truly understand what they are creating. (This is NOT the same as providing a pre-made model of the finished product. Providing a model that a teacher created is NOT something I do.)
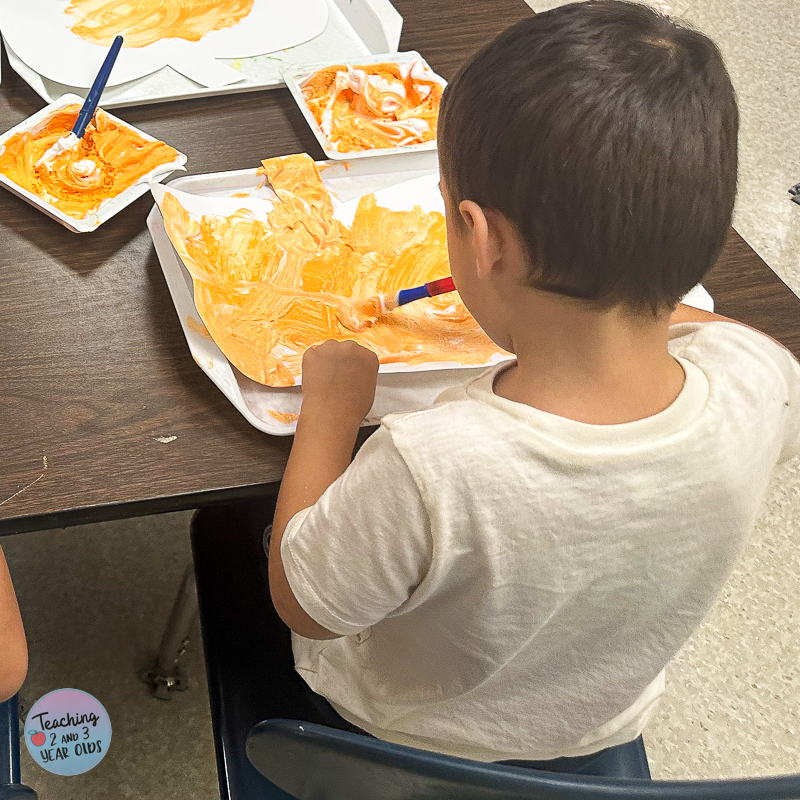
Get painting!
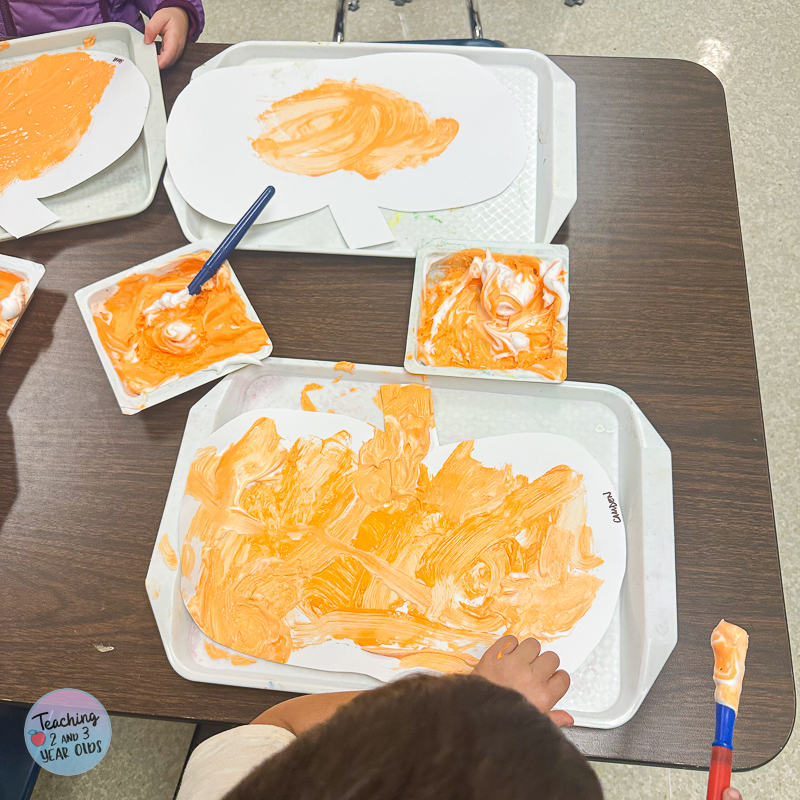
Once your children are seated, invite them to mix their puffy glue and brush it onto the pumpkin.
The 3’s teachers used large paper which is perfect for making big strokes.
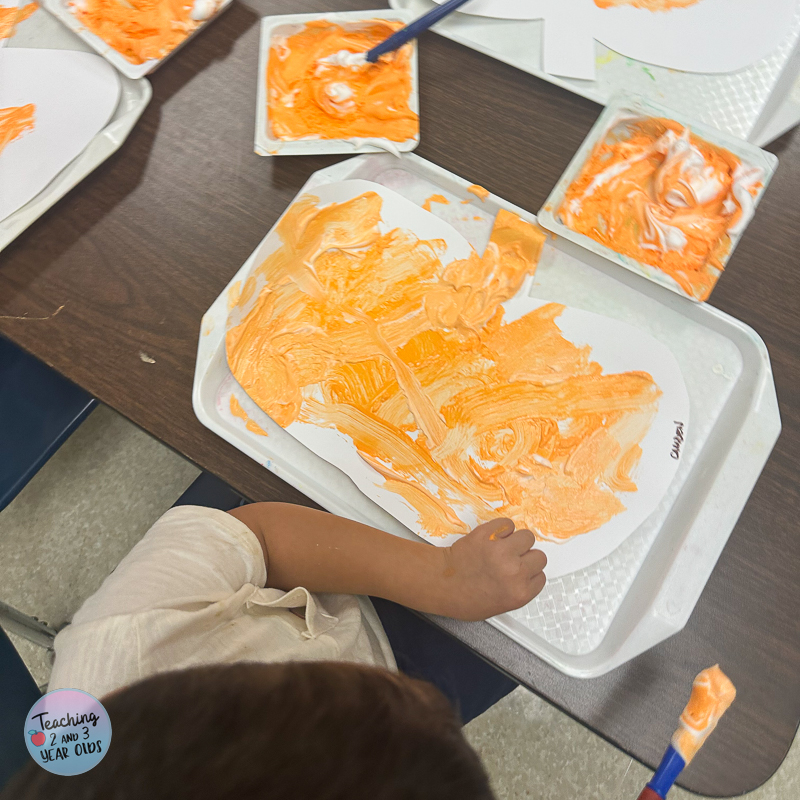
Because of the larger surface space, children are working a bit longer, strengthening their attention spans. However, it’s okay not to cover all of the paper. It’s whatever the child is comfortable with.
Put the Facial Pieces On
Now it’s time to press the eyes, nose, and mouth on the pumpkins!
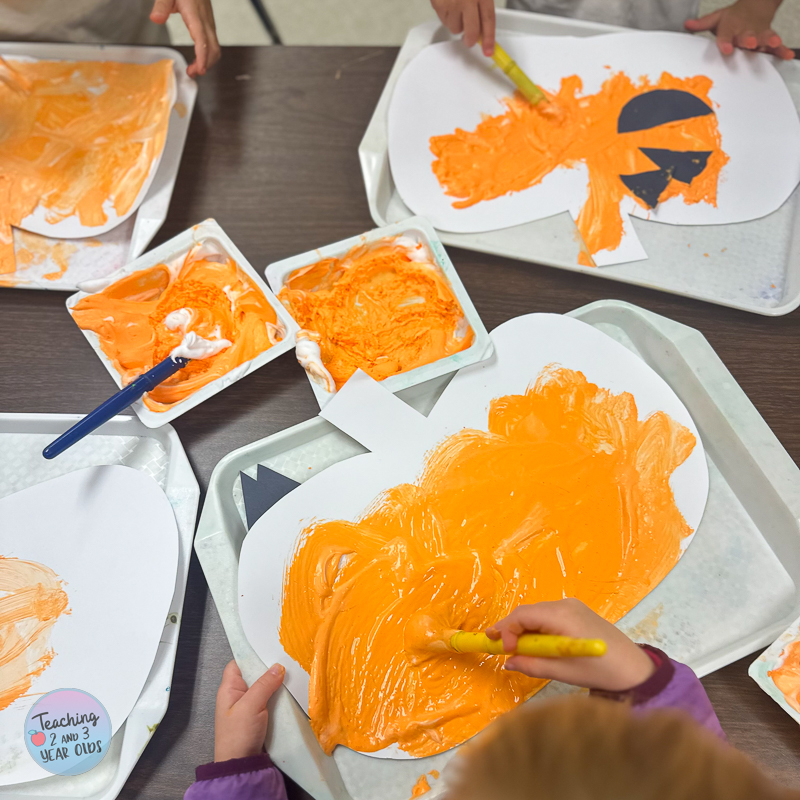
While it’s tempting for adults to show the exact placement of where the eyes, nose, and mouth go, it’s important to step back and let the children do their own work.
I’ve witnessed this many times from well-meaning teachers in our preschool.
Let Dry
Have a flat space for the jack-o-lanterns to dry. It might take a bit longer than regular paint because of its thickness.
More Pumpkin Activities
- Fine Motor: Washing Pumpkins
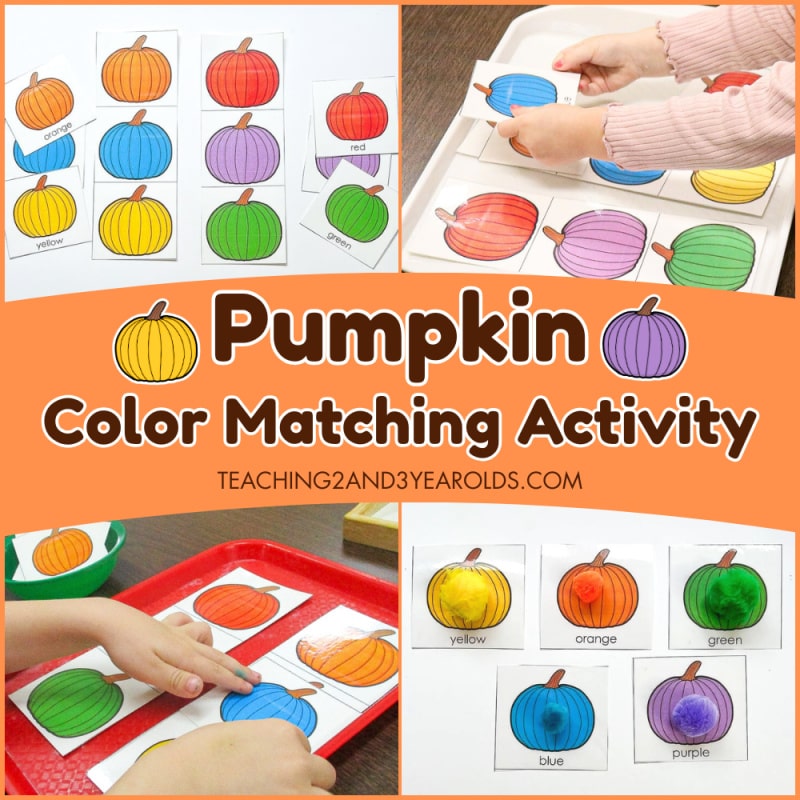
- Colors: Pumpkin Color Matching
- Math: Pumpkin Counting
- Water Table: Fine Motor Pumpkin Water Table
- Art: Pumpkin Collage
- Sensory: Pumpkin Sensory Table
- Circle Time: Pumpkin Props
- Cooking: Pumpkin Muffins
You can see more here: A Week’s Worth of Pumpkin Activities



FREE CIRCLE TIME PLANNER!
Get your FREE circle time planner as a gift when you subscribe to my free weekly newsletters.
Here is my Privacy Policy
