
Last Updated on October 25, 2026 by Sheryl Cooper
Inside: Put that piece of cardboard to good use with some tape resist pumpkin art. A fun group activity for toddlers and preschoolers!
I love cardboard activities, and I love group activities. So this tape resist pumpkin art is a winner!
We actually have done quite a bit of tape resist art, including:
So let me show you how we made these pumpkins!
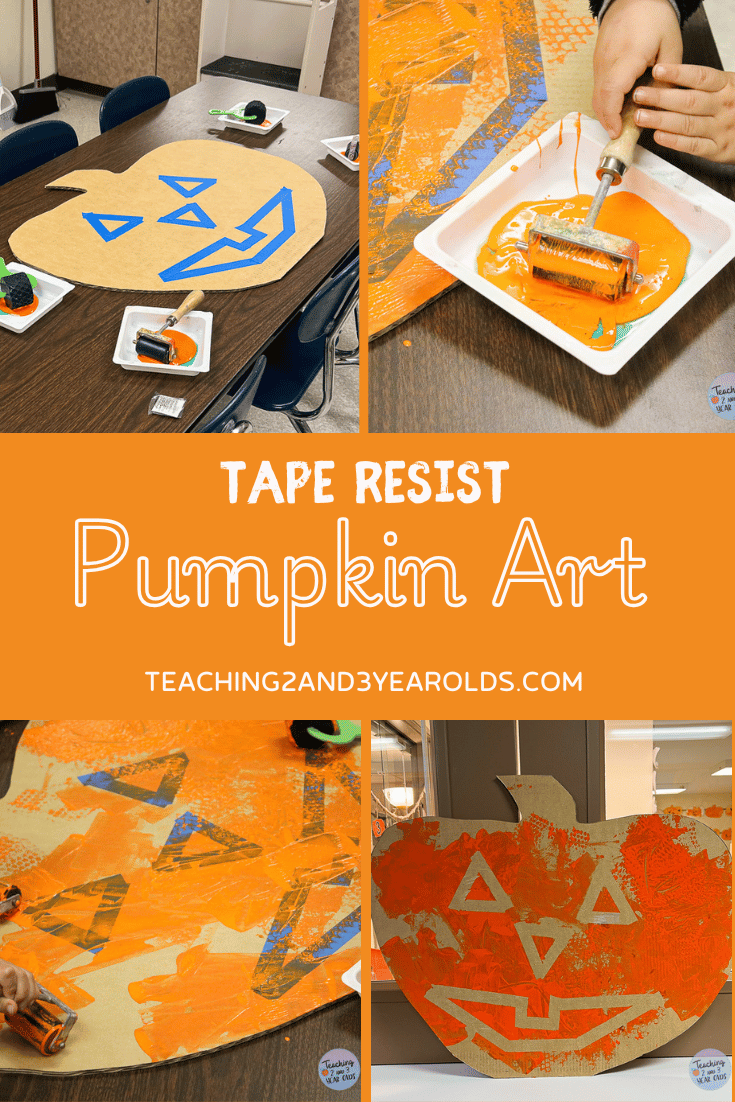
Tape Resist Pumpkin Art for Halloween
During the second two weeks of October we have fun with a pumpkin and Halloween theme.
When I say we have pumpkins all over the classroom, I mean it!
- Fine Motor: Washing Pumpkins
- Colors: Pumpkin Color Matching
- Math: Pumpkin Counting
- Water Table: Fine Motor Pumpkin Water Table
- Art: Pumpkin Collage
- Sensory: Pumpkin Sensory Table
- Circle Time: Pumpkin Props
- Cooking: Pumpkin Muffins
You can see more here: A Week’s Worth of Pumpkin Activities
The three and four year old teachers put together tape-resist pumpkin art every year, so this year I decided my two and three year olds needed to give it a try, too!
I love group activities because it encourages learning how to share space and materials.
Group activities also strengthen communication skills because the children often will talk to each other while working.
Watch the Video
Supplies
- Large flat piece of cardboard
- Orange paint
- Painters tape
- Paint rollers and/or paintbrushes
Benefits of Paint Rollers
I love adding paint rollers to our art activities because they work the entire arm and shoulder.
They are perfect for large pieces because they will give more coverage, especially with younger children who tend to stop painting with a paintbrush before the piece is covered.
Note: I never expect all of the surface to be covered in paint, and rarely with two and three year olds do I see this happen. But using rollers does usually cover more of t he area when compared to paintbrushes.
So if you already have paint rollers, I highly encourage you to add these to the activity!

Fall Activities Bundle
Contains 5 of our fall sets. Download, print, enjoy!
Preparation
Cut a pumpkin shape from your large flat piece of cardboard.
Create an outline of eyes, nose and mouth on the cardboard using painters tape.
Pour orange paint into containers.
Watch: The Easiest Ways to Manage the Art Center
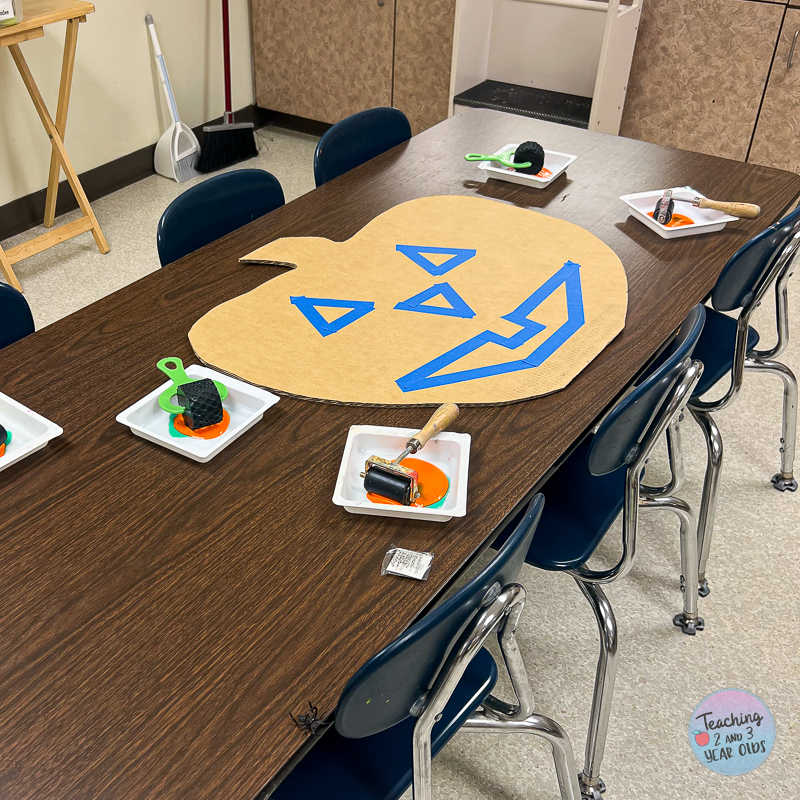
Set Up
Place cardboard pumpkin, trays of paint, and rollers on the art table.
The Activity
As children arrive at the art table, explain that they will be applying orange paint on the cardboard pumpkin.
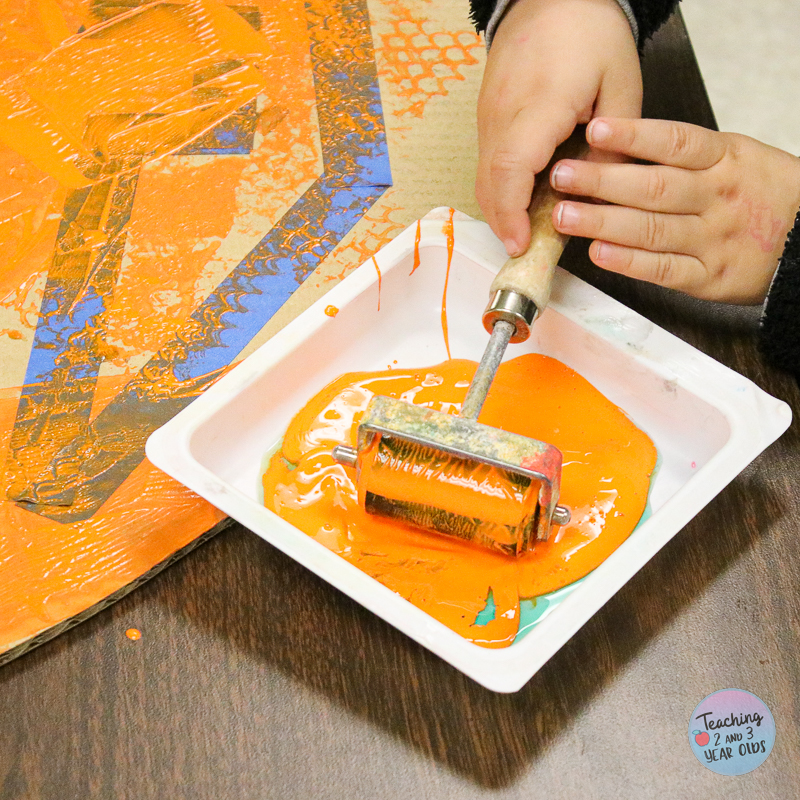
Dip the paintbrushes and/or paint rollers in the paint and then start covering the pumpkin.
Note: The green you see in the orange paint is dishwashing soap. We accidentally didn’t get washable paint, so we added the soap.
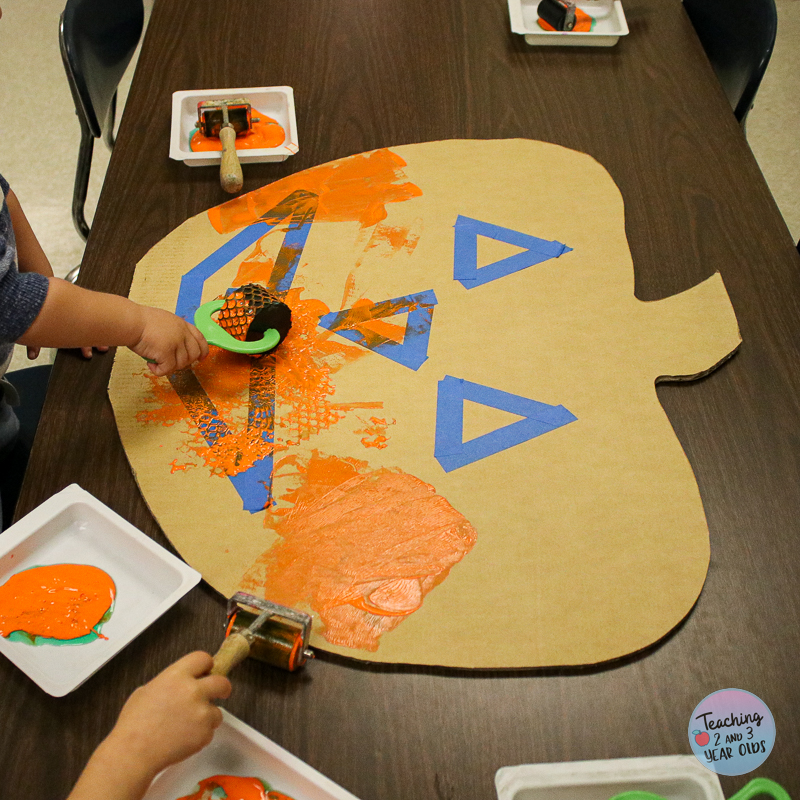
How you manage this depends on the size of your class and the amount of children who are painting at the same time.
If you have a group that tends to all join at once, you might want to make two pumpkins for them to paint.
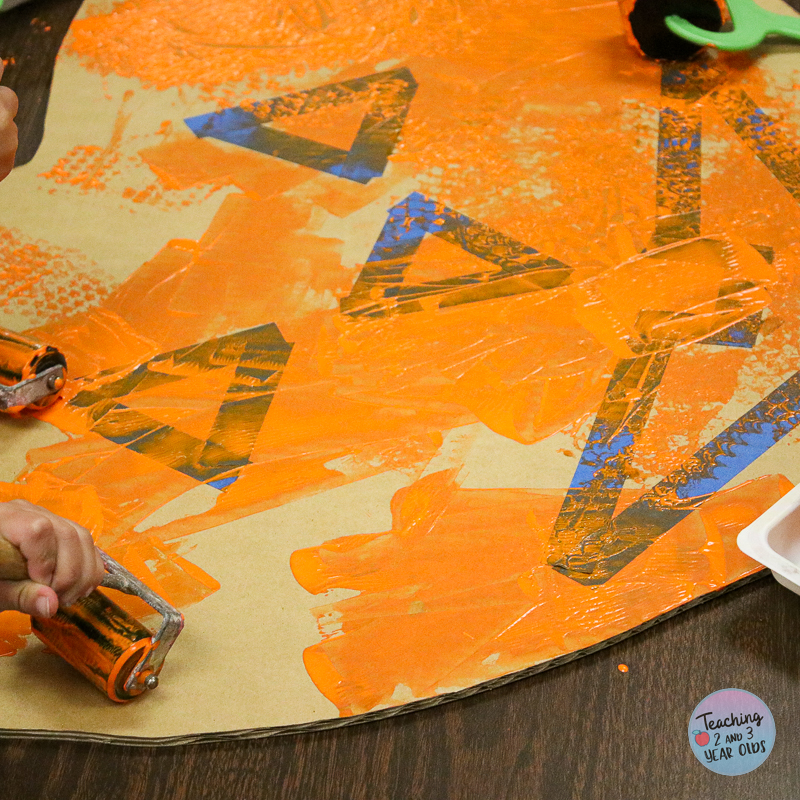
Apply the paint right over the painters tape. In fact, you will want to encourage all of the tape to be covered so that you will see the details later.
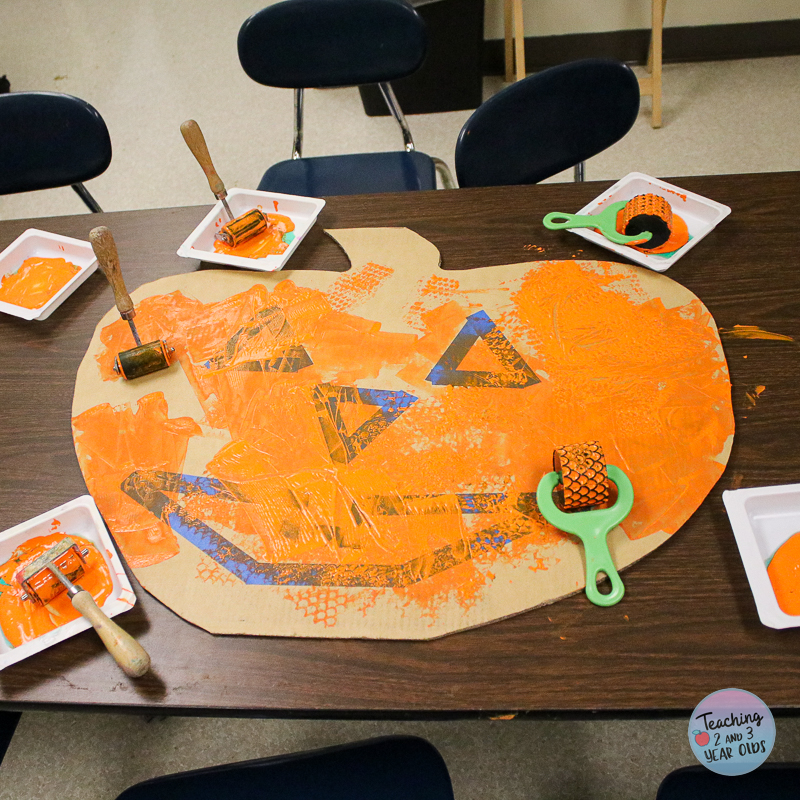
Removing the Painters Tape
I like to remove the tape when the paint is still a bit damp. It seems to come off a bit easier.
However, note that some tearing while removing the tape is common. We just roll with it.
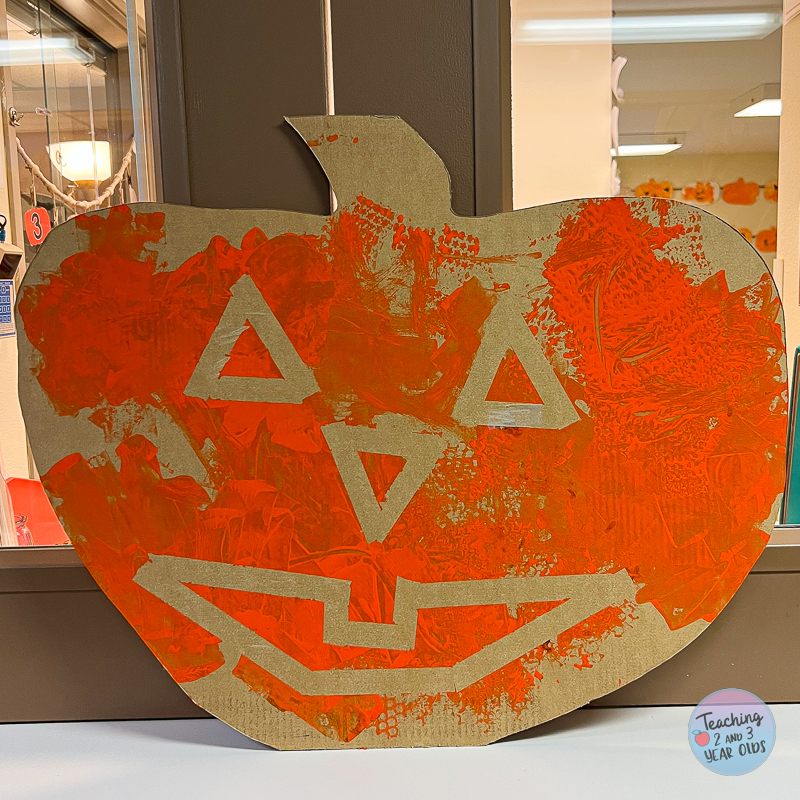
And there it is!
Our tape resist pumpkin for Halloween!


FREE CIRCLE TIME PLANNER!
Get your FREE circle time planner as a gift when you subscribe to my free weekly newsletters.
Here is my Privacy Policy
