
Last Updated on August 1, 2026 by Sheryl Cooper
Inside: Teach your children how to make a print with this painting on mirrors process art activity!
Many years ago I bought acrylic mirrors for our playdough table, but if you’ve been following me for awhile you know that I love to use items in multiple ways.
So, I took those mirrors to the art table where we learned how to make prints!
This isn’t the first time we’ve used mirrors with our art activities. We also used them to make prints on shamrocks!
If you don’t have mirrors, you can do this on any slick surface such as a tray.
Painting on mirrors is also a great way to mix a couple of colors, too!
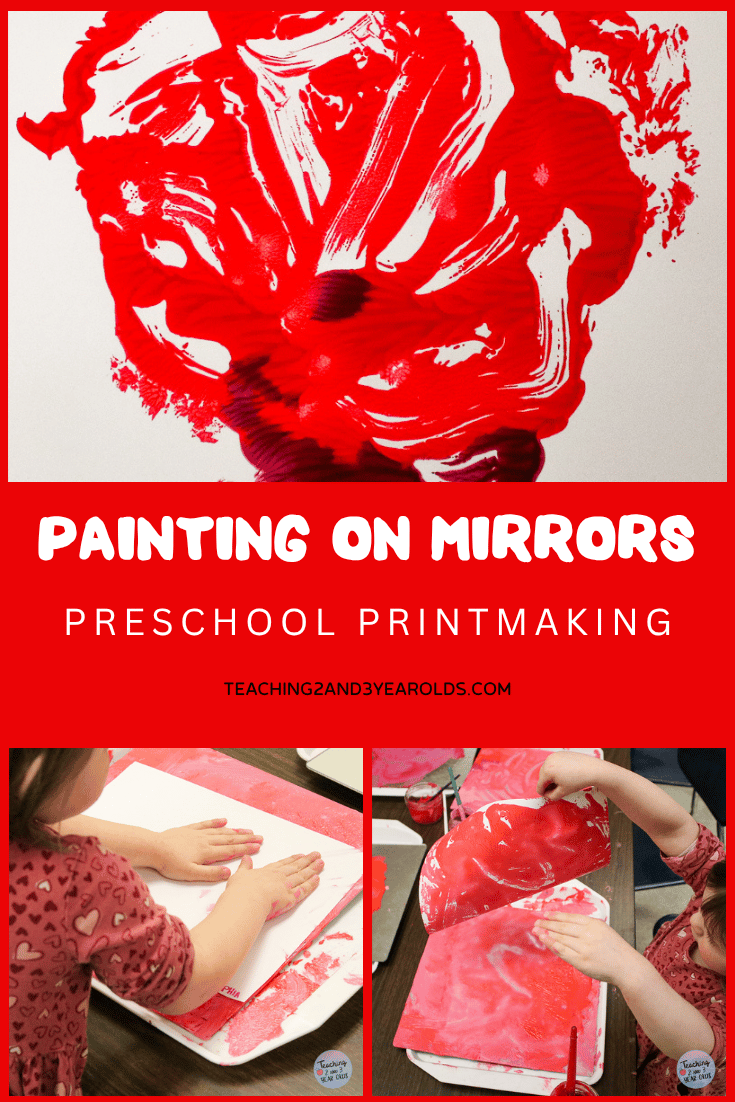
Painting on Mirrors Process Art
Watch the Video to See This in Action!
Any Time of the Year
You can do this activity any time of the year.
You can choose colors to match a current theme, such as we’ve done in this post.
Since we were in the middle of our Valentine’s Day theme, I chose pink and red paint.
If you were doing St. Patrick’s day, the children could mix yellow and blue.
Ocean theme? White and blue!
You get the idea.
Watch: The Easiest Ways to Manage the Art Center
What Kind of Paper?
You can use regular or heavy paper.
It can be any shape, really.
If you want it to be for a specific theme, cut the paper into a shape that fits that theme!
What Kind of Paint?
We used washable tempera paint. The thickness of the paint was perfect for printmaking.
However, I have not yet tried other types of paint. Let me know if you use something other than tempera with favorable results!
What Ages?
Quite honestly, I think any toddler or preschooler would have fun with this. Even older children!
These photos were take with my 2 and 3 year old class.
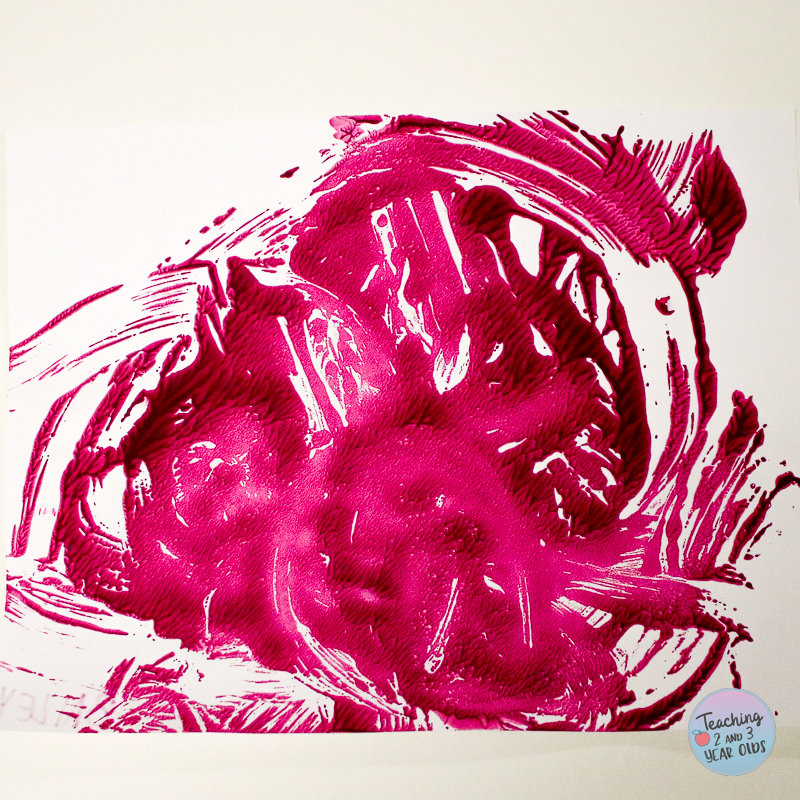
Supplies
- Tempera paint, your choice of colors
- Paintbrushes
- Mirrors and/or trays
- White paper
- Containers for paint
Preparation
Pour paint into individual containers.
If you are using paper cut into shapes, do that ahead of time.
Set Up
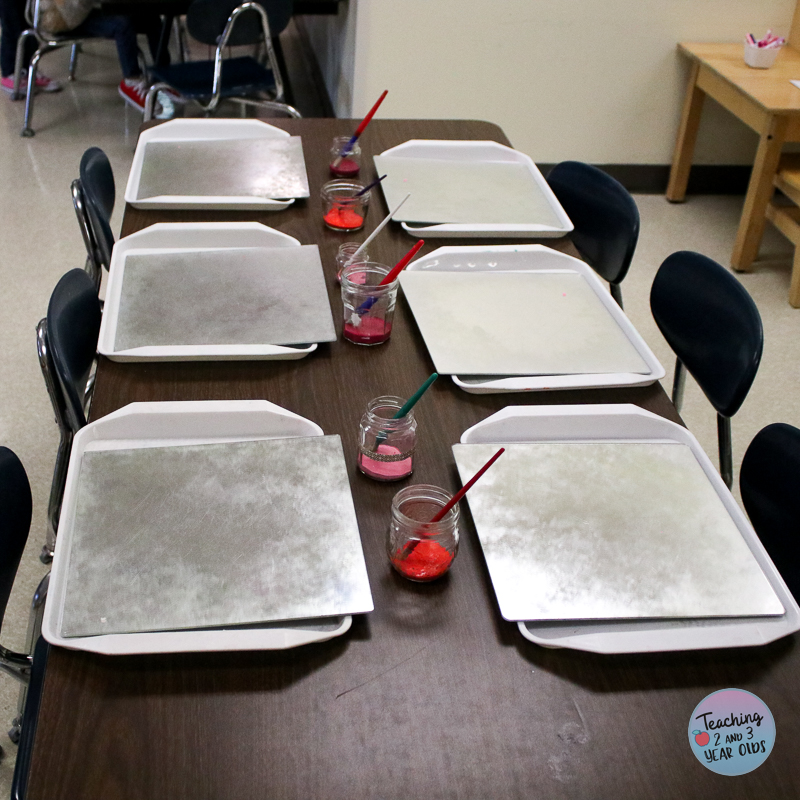
At each spot have a mirror, paint, and paintbrush.
I decided to place the mirrors on trays, but that is optional.
Have paper close by.
Step One: Paint the Mirror
Invite your children to choose a color and brush it on to the mirror. Then, choose another color (if using multiple colors).
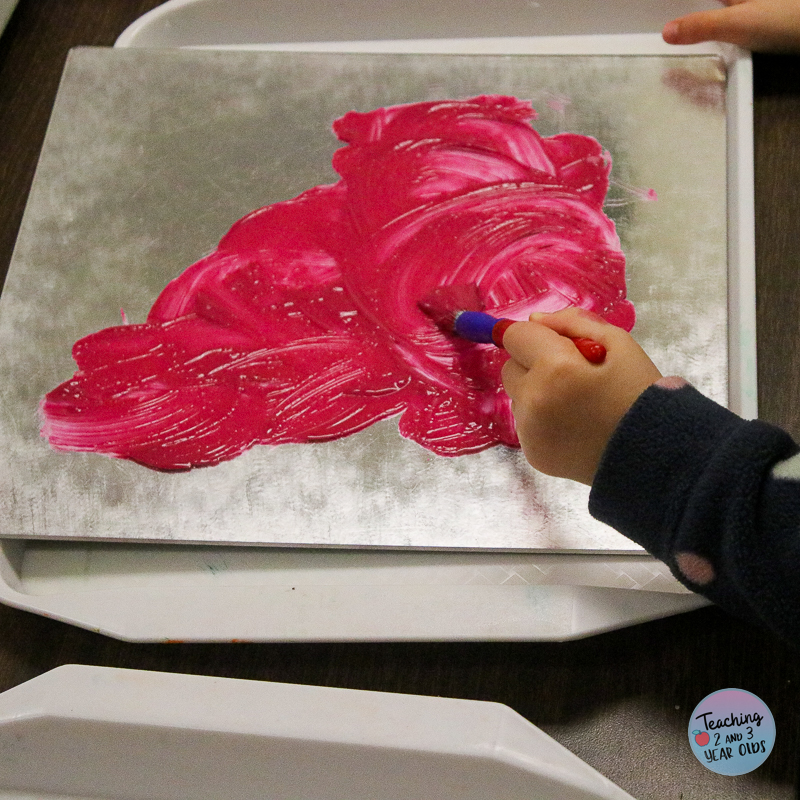
What I love about process art is that there isn’t much directions needed, and there is no specific outcome.
This allows the children to use their own creativity.
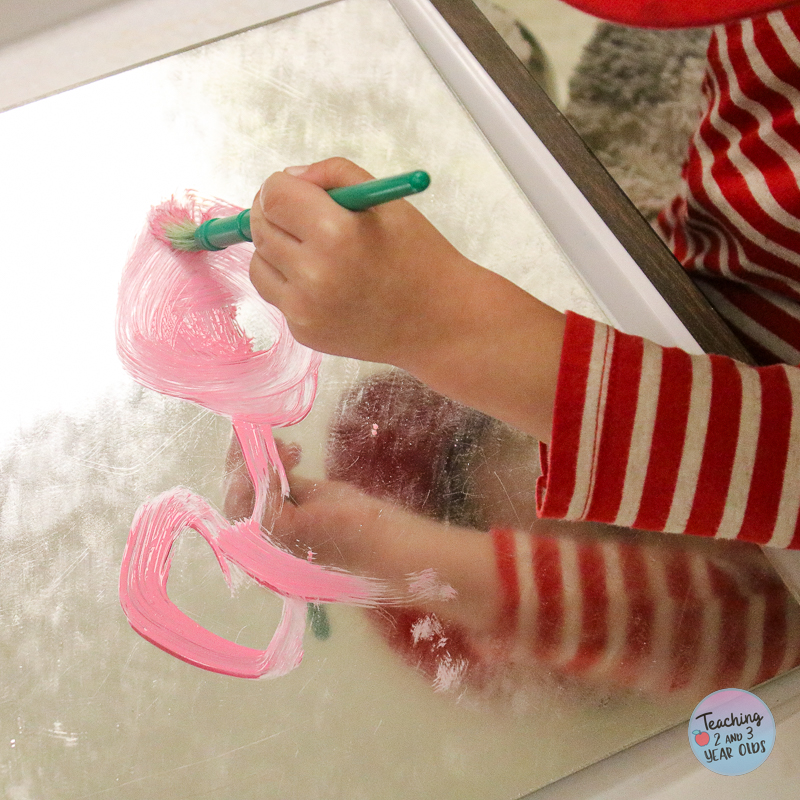
They can make shapes, lines, objects, or whatever they wish!
They also might notice their face in the mirror and paint it.
Step Two: Make a Print
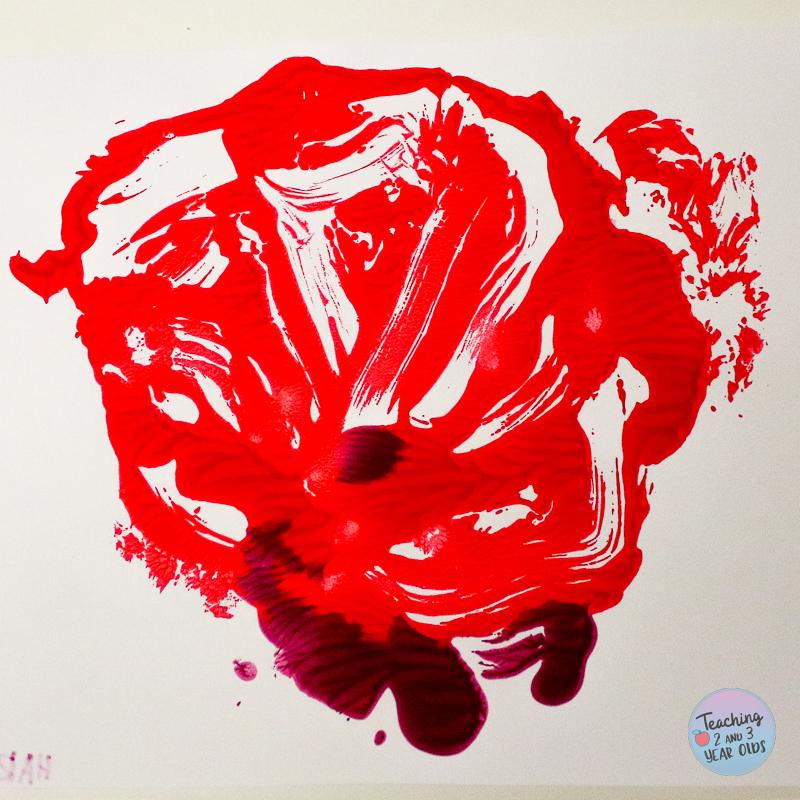
When they are finished painting, take a fresh sheet of paper and have the child set it on top of the painted mirror.
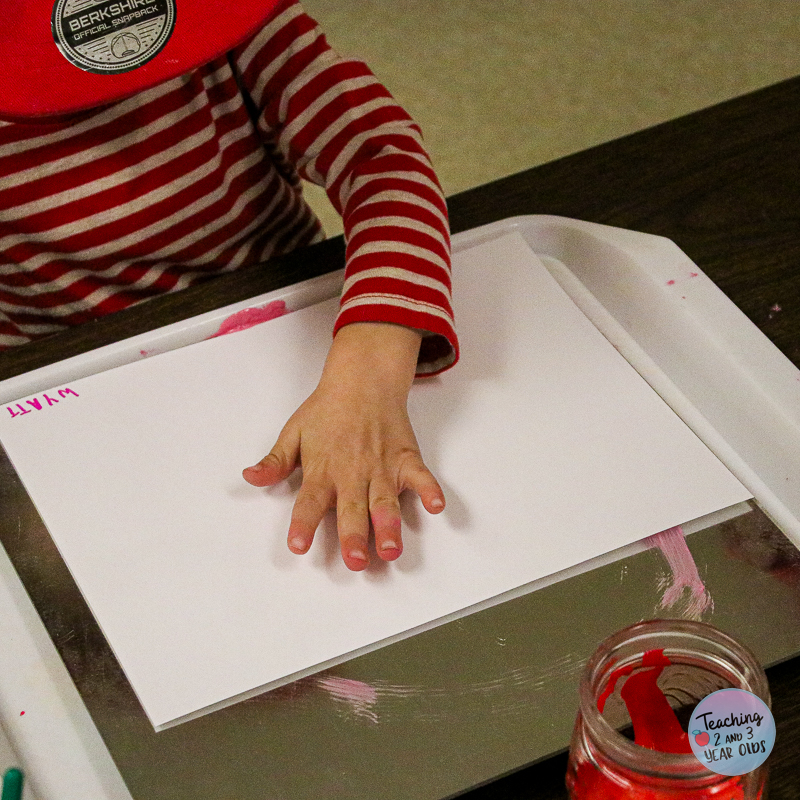
Then, they will place their hand(s) on top of the paper and rub it.
My toddlers loved patting it, too, for the sound effects.
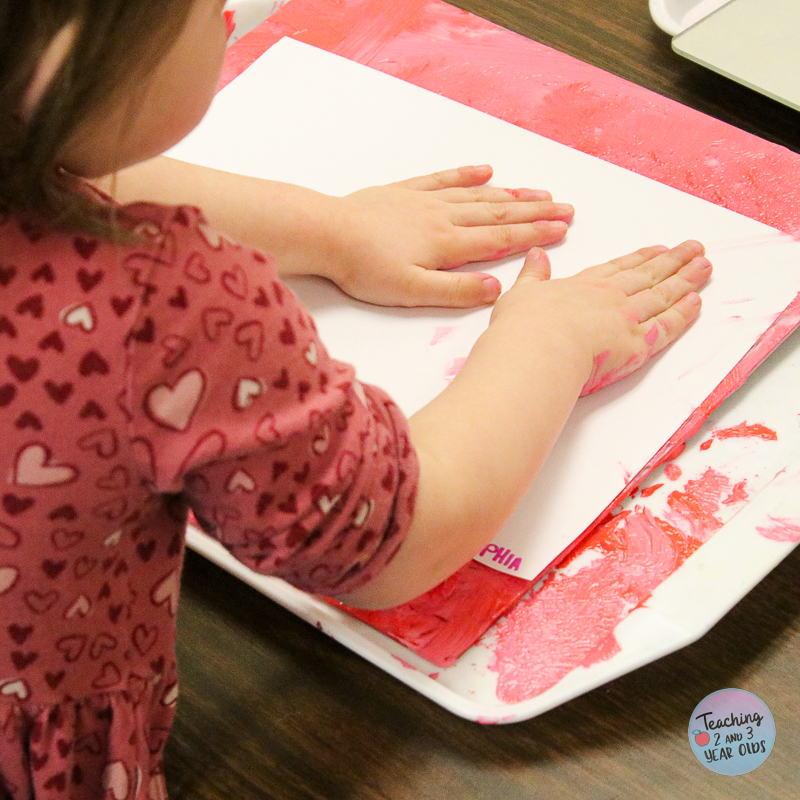
Then, have them pick up the top corner of the paper and peel it away from the mirror.
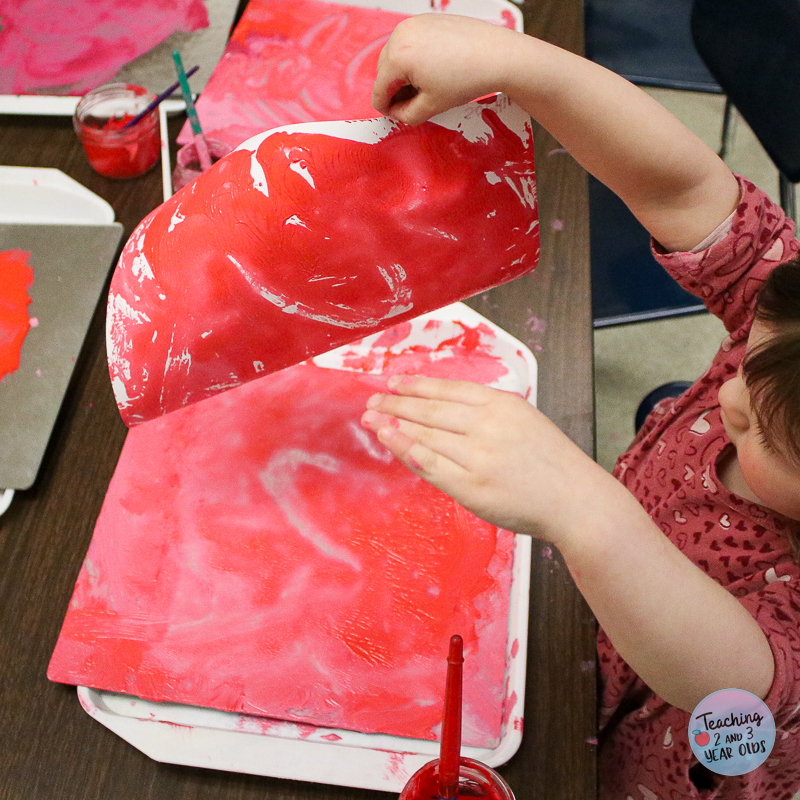
This is like magic to a young child. Once they see what happens, they often ask to make another print!
Extensions
- Older preschoolers can paint a specific object on the paper, such as a face, animal, shape, etc.
- Try using rollers instead of brushes!
More Process Art Fun


FREE CIRCLE TIME PLANNER!
Get your FREE circle time planner as a gift when you subscribe to my free weekly newsletters.
Here is my Privacy Policy
