
Last Updated on January 18, 2025 by Sheryl Cooper
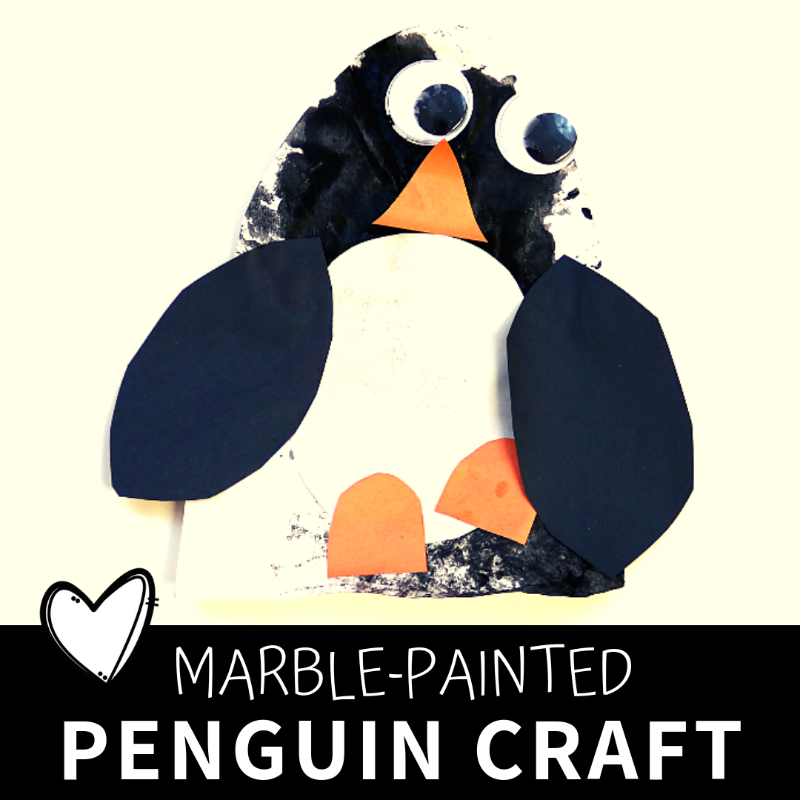
Inside: This toddler and preschool penguin craft involves a process art activity that uses marbles to paint the body. Once it’s dry, add the details and hang on the wall. Adorable!
I love process art.
For those of you who’ve been following me for awhile, this is no surprise.
However, I will toss a craft in there now and then, but I still want part of it to be process art.
I think it works nicely, the children have fun with it, and it does create something fun to hang in our classroom.
During our penguin theme I came up with an idea that involved a sealable plastic bag, marbles, and black paint.
Add the details and there is a cute penguin craft!

Marble-Painted Penguin Craft for Preschoolers
One the reasons I love marble painting is because it adds fun fine motor to an activity. We loved using it with our winter mitten art, our doily valentines activity, and our colorful butterflies. It’s also a fun sensory experience as the marbles are moved around the paper!
What we used:
- White construction paper
- Orange construction paper
- Black construction paper
- Big wiggly eyes (these are the best)
- Marbles
- Black washable tempera paint
- White glue
- Gallon size sealable plastic storage bag
Step One of the Penguin Craft
Cut white paper to make a penguin’s body. Don’t worry, it doesn’t have to be perfect. In fact, I just sort of made something up that was flat on the bottom and rounded on the top.
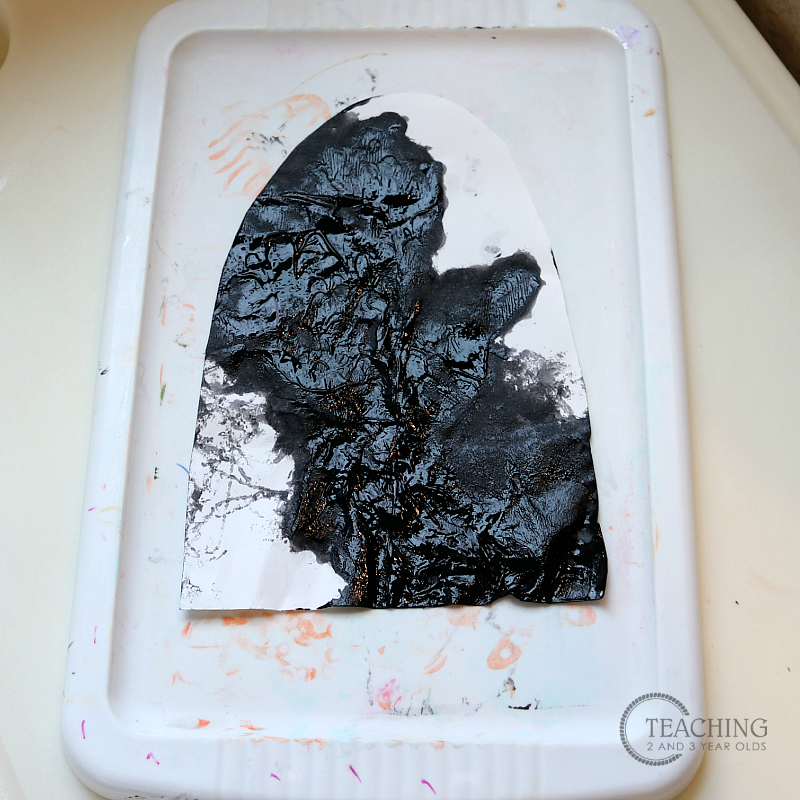
Place the white paper into the storage bag, squirt some black paint into it, add a few marbles, and seal it up.
If you are doing this with toddlers, you can eliminate the marbles so you don’t have to worry about a choking hazard. They will still enjoy pressing on top of the plastic to push the black paint around.
In fact, you can see in the photo below that some of the children didn’t even push the marbles around. They simply wanted to press on the paint and paper.

Remove the paper from the bag and let dry thoroughly.
Step Two of the Penguin Craft
It’s now time to create and add the details.
Cut an oval from white paper, a beak and feet from orange paper, and 2 fins from black construction paper.
Place them on the table with 2 of the wiggly eyes and a container of white glue.
I had a plush penguin sitting in a chair near our art table, so I referred to him while doing this second step.
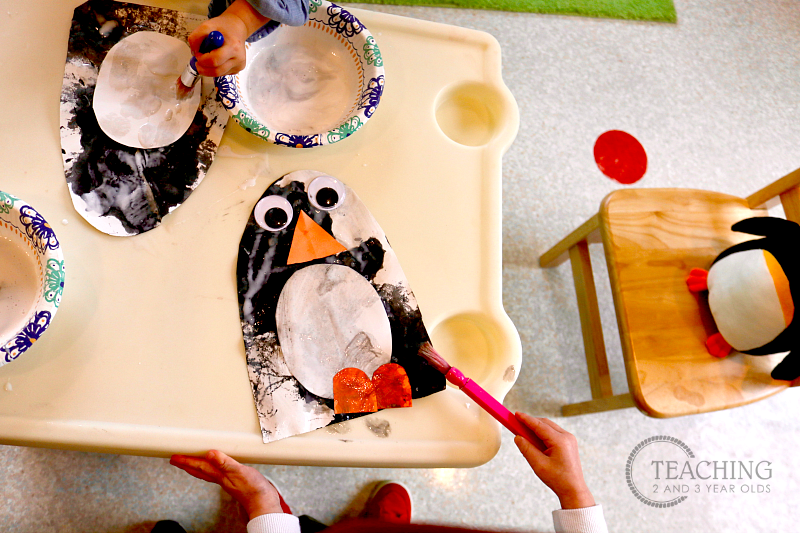
I asked the children how many eyes he had, and is his beak above or below his eyes?
What about his feet? Are they on top of him or the bottom?

The last touch was adding the fins on either side of the body.
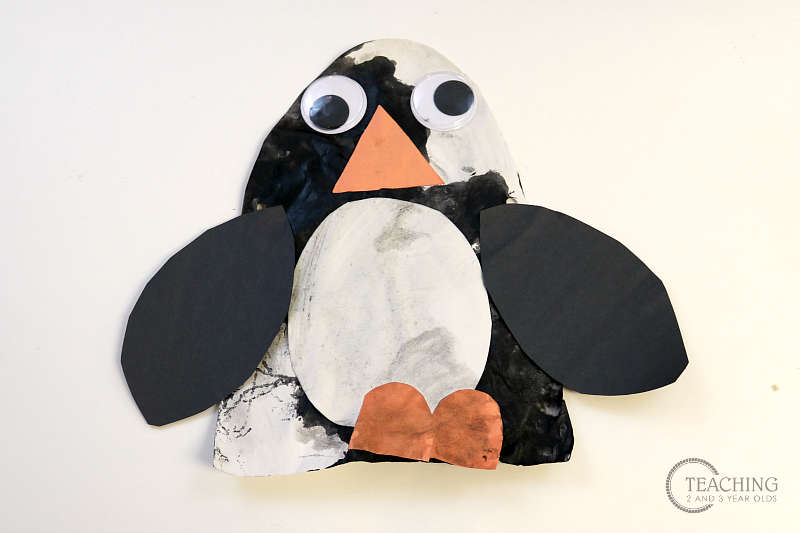
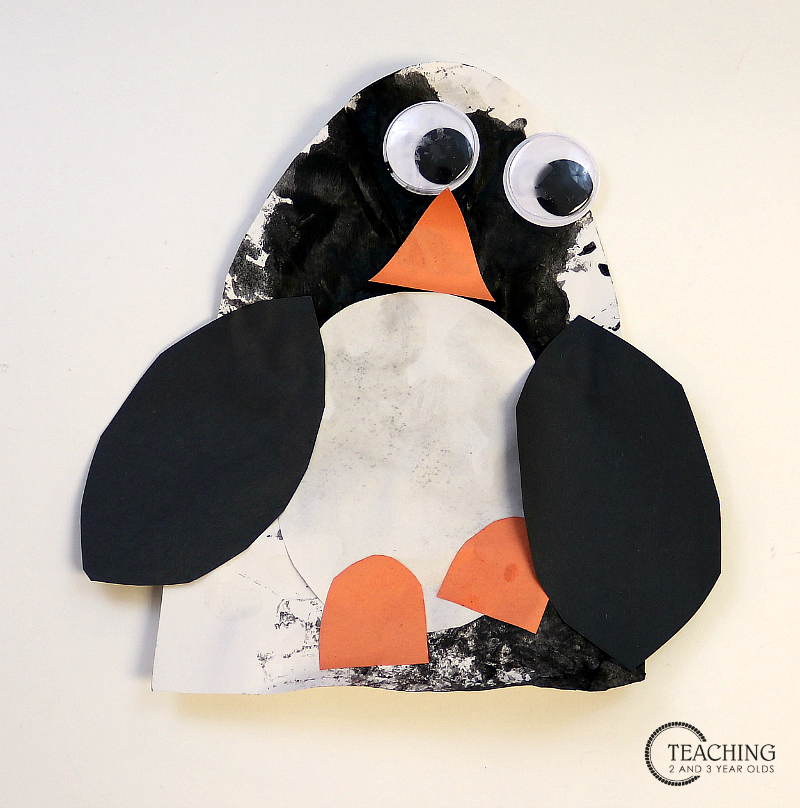
Seriously, I adore how they turned out.
Those big eyes give them personality!

I’m not a big bulletin board person, but I will hang our art on the walls.
I combined them with our watercolor snowflakes for a fun classroom display.
Cute, right?

Penguin books:
- Penguin Sets Sale
- If You Were a Penguin
- National Geographic Penguins
- Brave Little Penguin
- Tacky the Penguin


FREE CIRCLE TIME PLANNER!
Get your FREE circle time planner as a gift when you subscribe to my free weekly newsletters.
Here is my Privacy Policy