
Last Updated on September 5, 2026 by Sheryl Cooper
Inside: These shaving cream egg prints for preschoolers is a fun (and colorful!) addition to your spring Easter theme. Comes with a free printable, too!
I’ve been asked so many times if I would document what our older preschool classes are doing, so this past year I did just that!
These shaving cream egg prints were done by our kinder-prep classes and they used them for family Easter cards.
This is something I have not ever done with my students, even when I taught 3 and 4 year olds, so I was curious about the technique and result.
One word: LOVE!
I definitely would recommend this one! And I’ve made it easier by providing an egg template that you can find towards the bottom of the page.
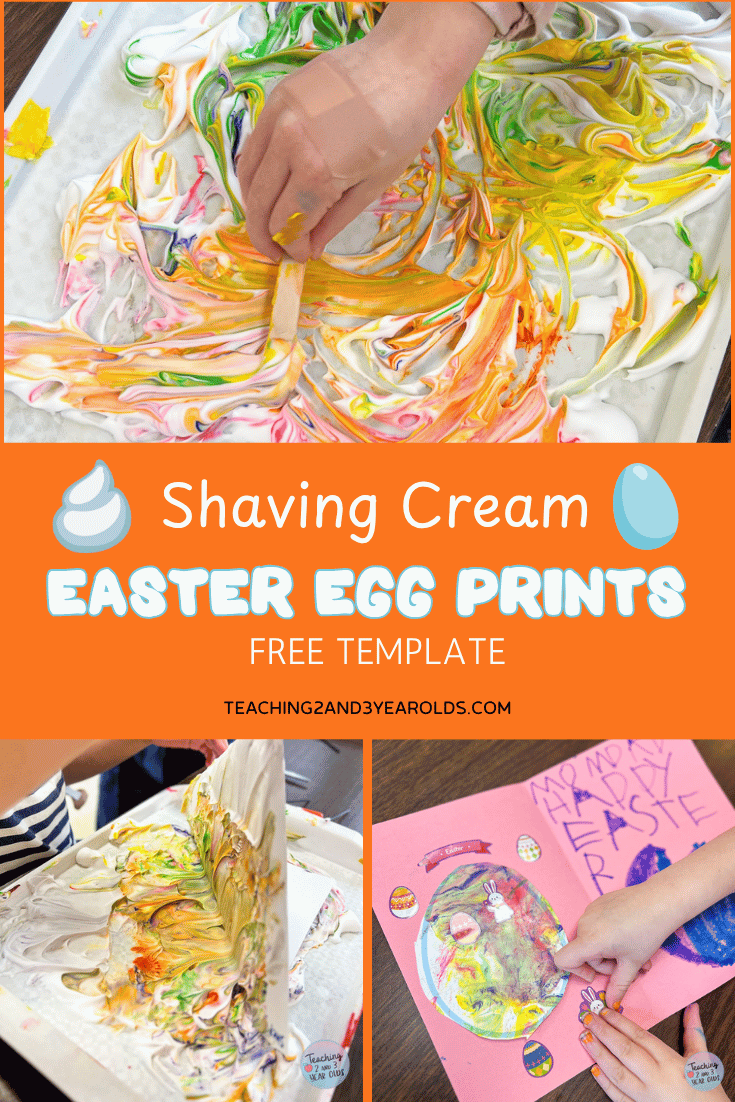
Shaving Cream Egg Prints for Preschoolers
If you are looking for Easter ideas for younger children, check these out:
Watch the Video
Supplies for the Shaving Cream Egg Prints
- Egg template (scroll down to find pdf download)
- Shaving cream
- Food coloring in pastel colors
- Craft sticks
- Cardstock
- Scissors for the children
- Ruler
- Trays
If you want to turn this into an Easter card, you will also need:
Step One: Making the Prints
Preparation
Make copies of the egg template on cardstock. Do not cut the eggs out, as that will be the preschoolers’ job.
Gather all your supplies so they are ready to go.
Get more Easter Activities here!
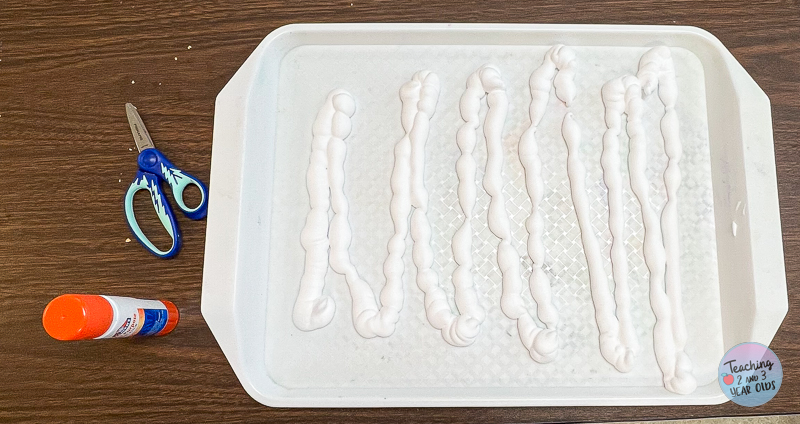
Set Up
Place trays at each spot, as well as craft sticks.
After the children sit down, squirt lines of shaving cream on each tray.
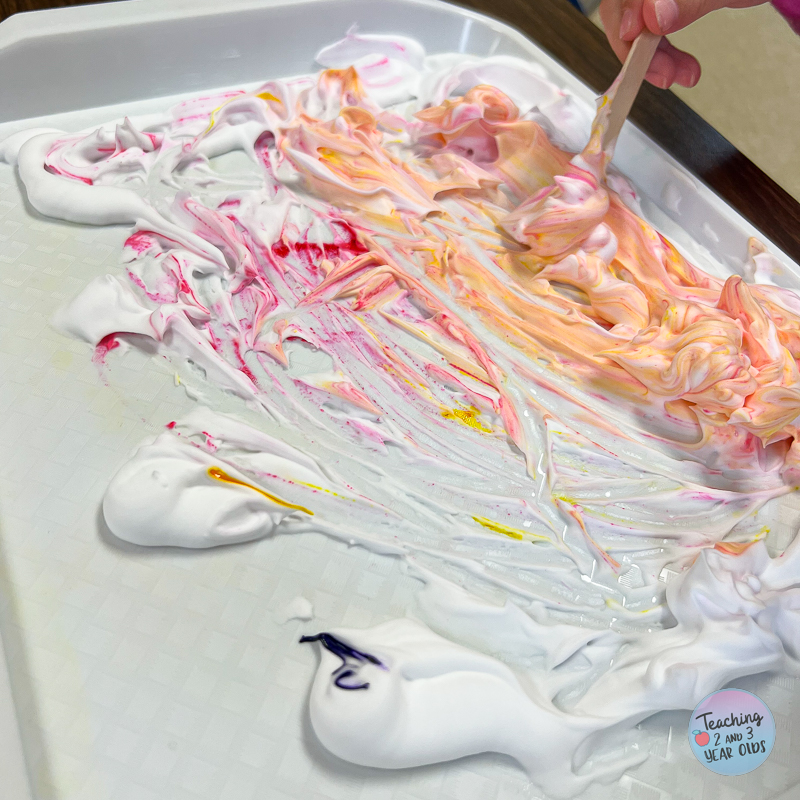
Then, squirt drops of the food coloring on the shaving cream.
The Activity
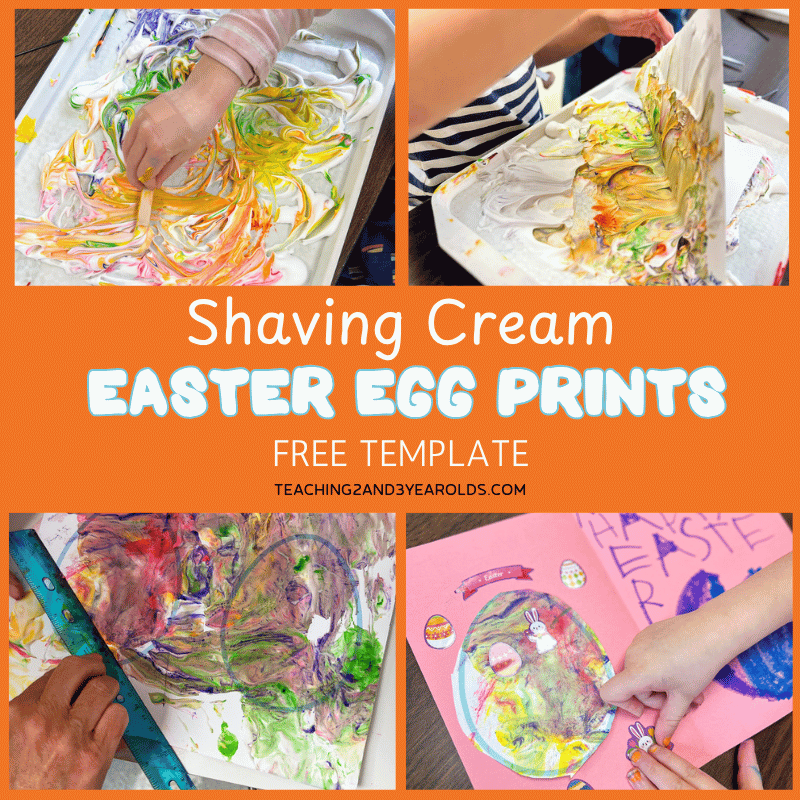
Invite your preschoolers to mix the colors by gently swirling the shaving cream with the craft sticks.
You don’t want to be too aggressive or you will lose the individual colors.
You just want to barely swirl them around so you can still see the separate colors.
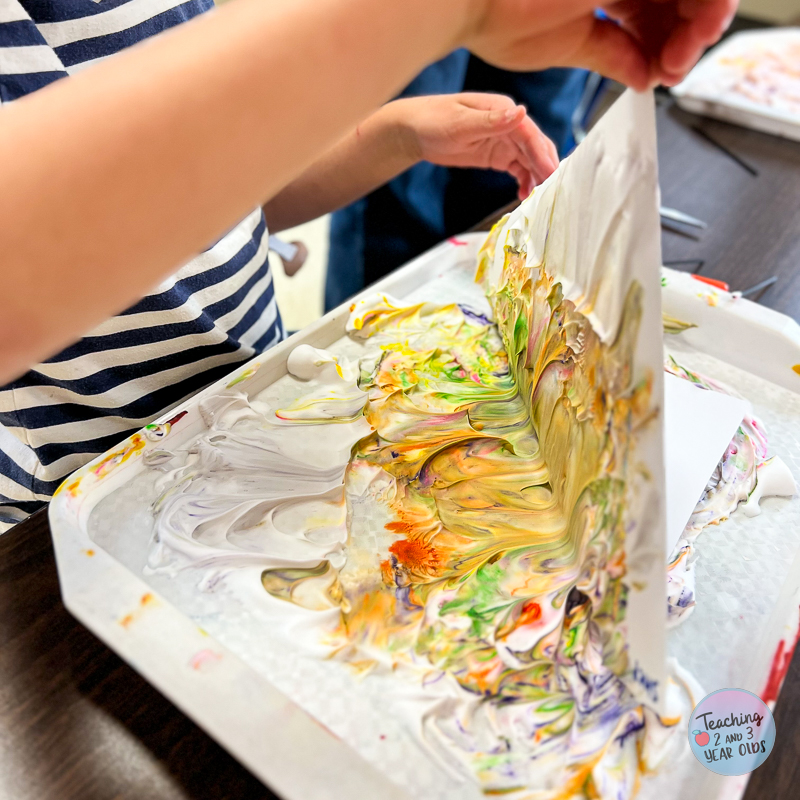
Then, press the egg paper gently on top of the shaving cream, lightly patting it.
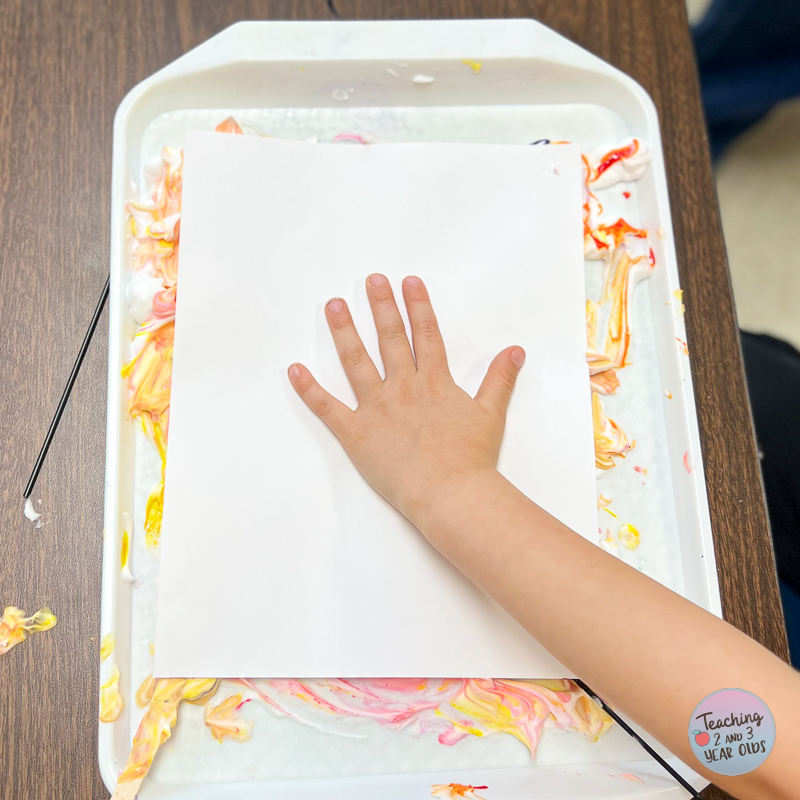
Then, pick up the paper and see the print!
Scrape the Excess
Lay the egg paper, shaving cream side up, on a flat surface.
Drag a ruler across the shaving cream to remove the excess.
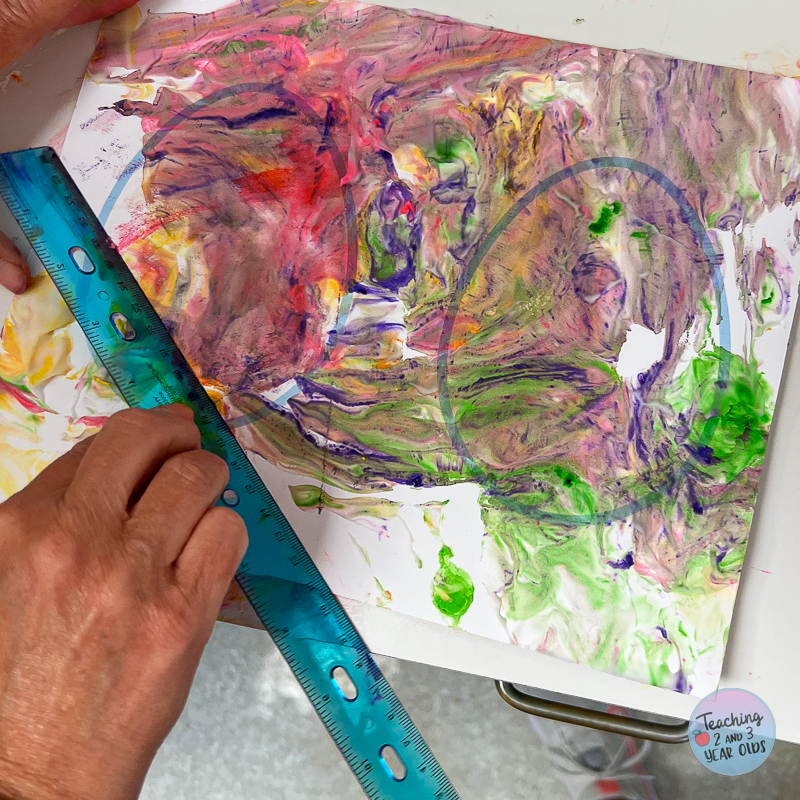
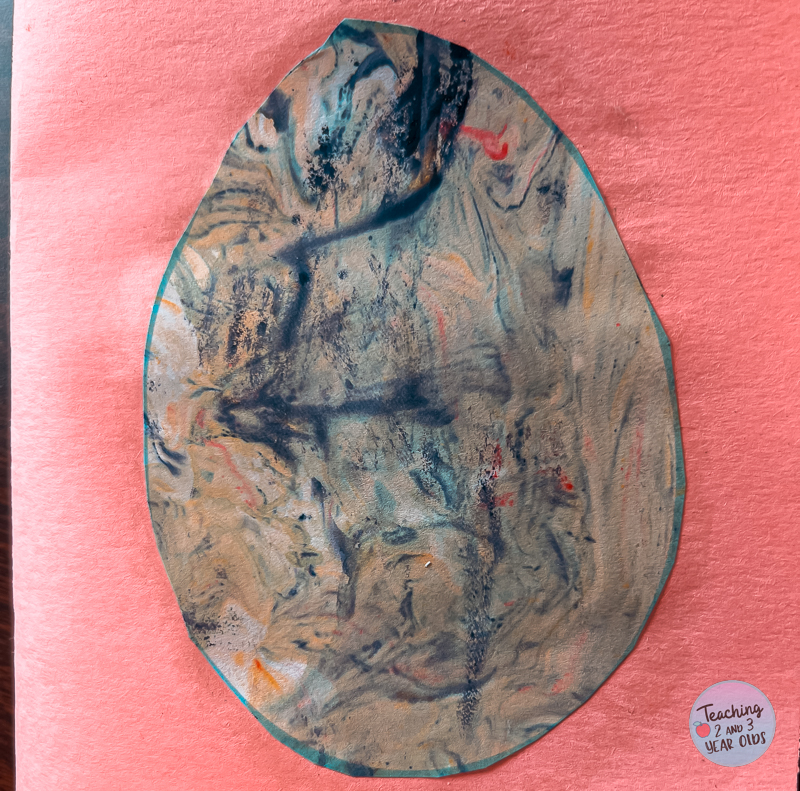
Let the shaving cream dry.
You can stop here, or you can use these for an Easter card.
The Kinder-Prep class made Easter cards for their families. The steps are below.
Step Two: Creating the Easter Card
Note: Each template has two eggs. Our Kinder-Prep class used both eggs for their cards. One was for the cover and one was for the inside of the card.
Set Up
Place the thoroughly dried eggs on the table along with construction paper, scissors, stickers, and markers.
Creating the Card
Invite your preschoolers to cut out their eggs.
They will then select what color construction paper they want, fold in half, and use the glue sticks to attach the eggs.
Add the stickers and decorate with markers.
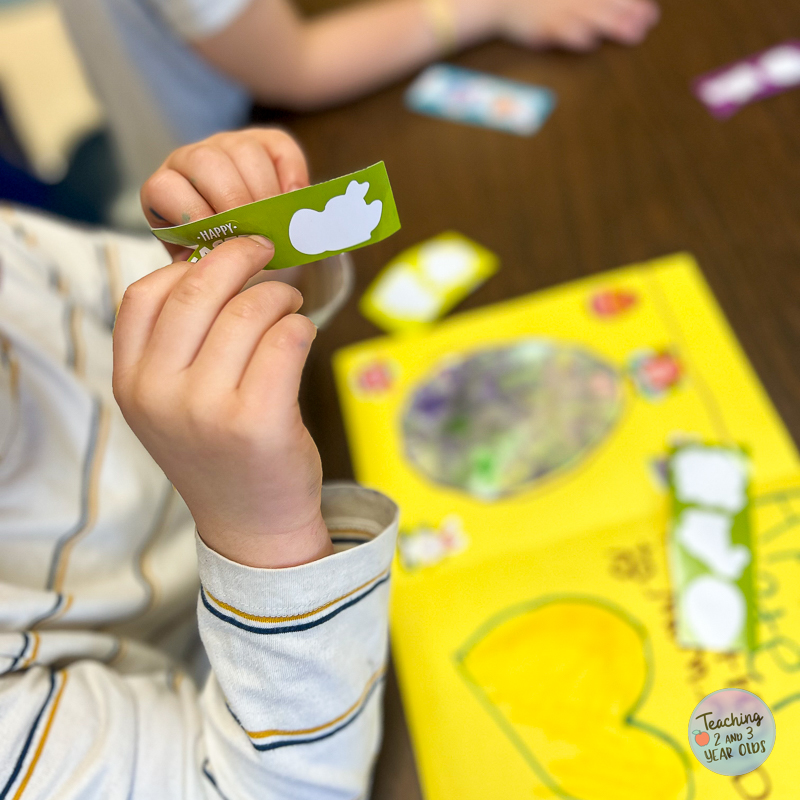
The Kinder-Prep class wrote notes in their cards, too.
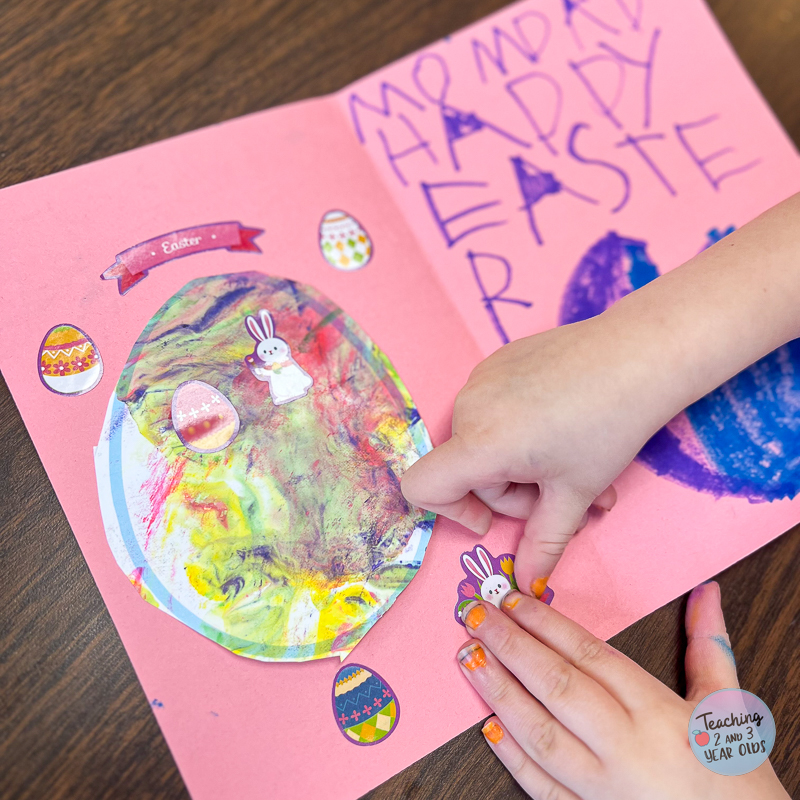
And that’s it!
The shaving cream painted eggs can be used on their own or as part of an Easter card.
Free Egg Template

More Spring Activities


FREE CIRCLE TIME PLANNER!
Get your FREE circle time planner as a gift when you subscribe to my free weekly newsletters.
Here is my Privacy Policy
