
Last Updated on September 1, 2026 by Sheryl Cooper
Inside: Work as a group with this large pumpkin collage for toddlers. All you need is cardboard and collage pieces!
Group art is a great way to work on sharing space and materials.
It’s also provides opportunities for young children to work on verbal skills as they create together.
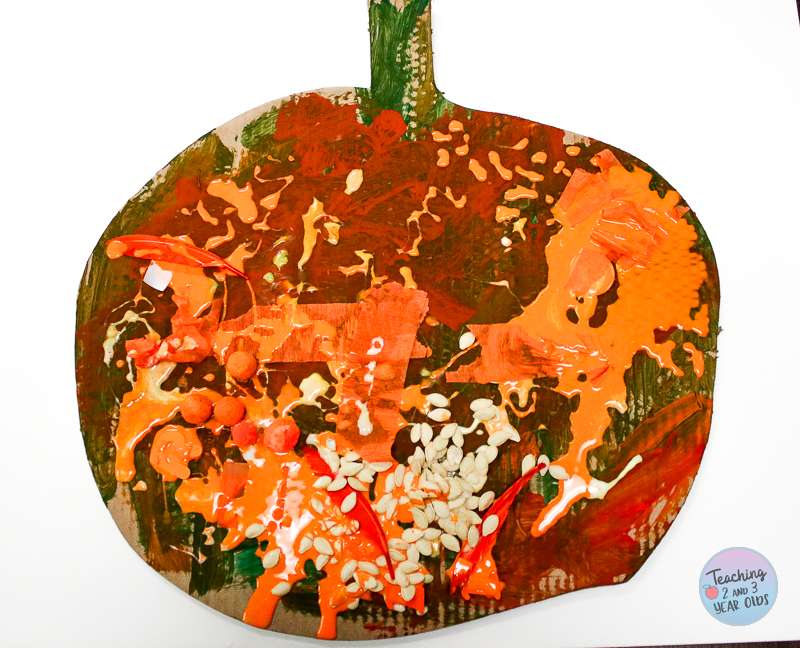
During our pumpkin theme, I created a big pumpkin shape from cardboard, collected collage scraps, and invited my two year olds to glue the pieces on top.
Simple?
You bet.
Fun?
Absolutely!
Let me show you how.
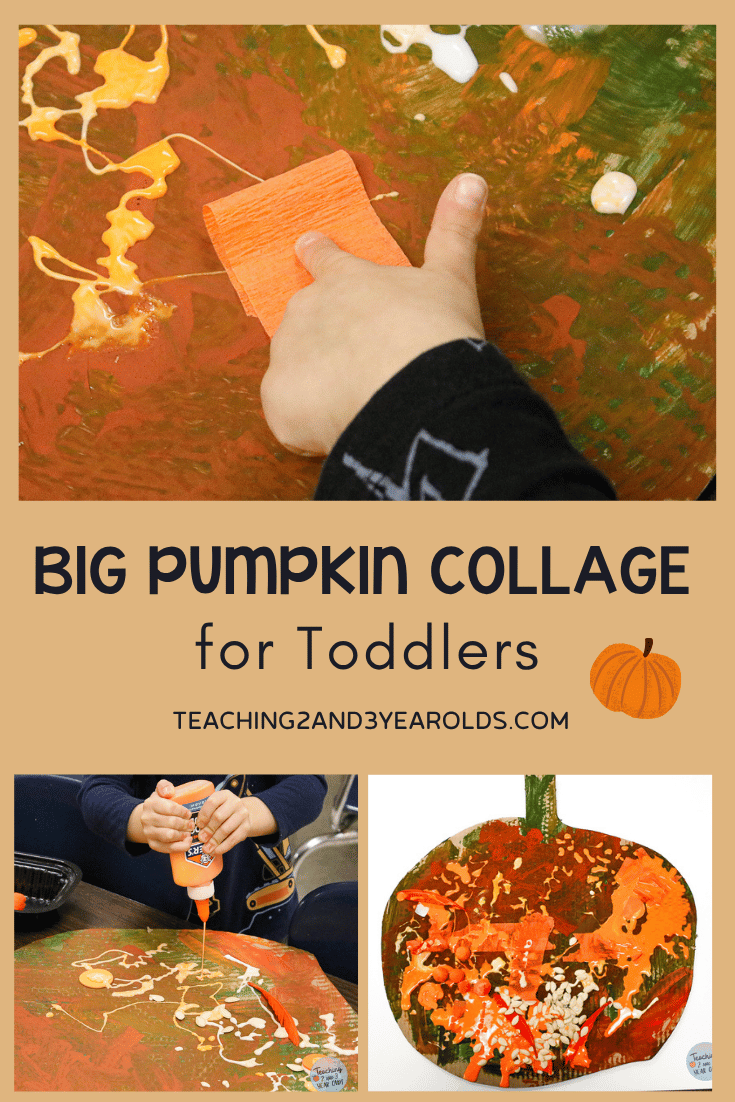
Large Pumpkin Collage for Toddlers
Group art is something I have written about before. Some examples:
As I already mentioned, there are many benefits to inviting children to work together, so I like to provide opportunities often.
We’ve made individual pumpkin collages in the past, so the set up is very similar.
The children are simply working together on one big project rather than individual ones.
Supplies
- Large piece of cardboard
- Xacto knife
- Assorted colors of paint in autumn colors
- Paintbrushes
- Bottles of white glue
- Collage pieces
Two Step Process
This project was done in two steps. The first step was painting the pumpkin.
The second step was gluing the collage pieces on.
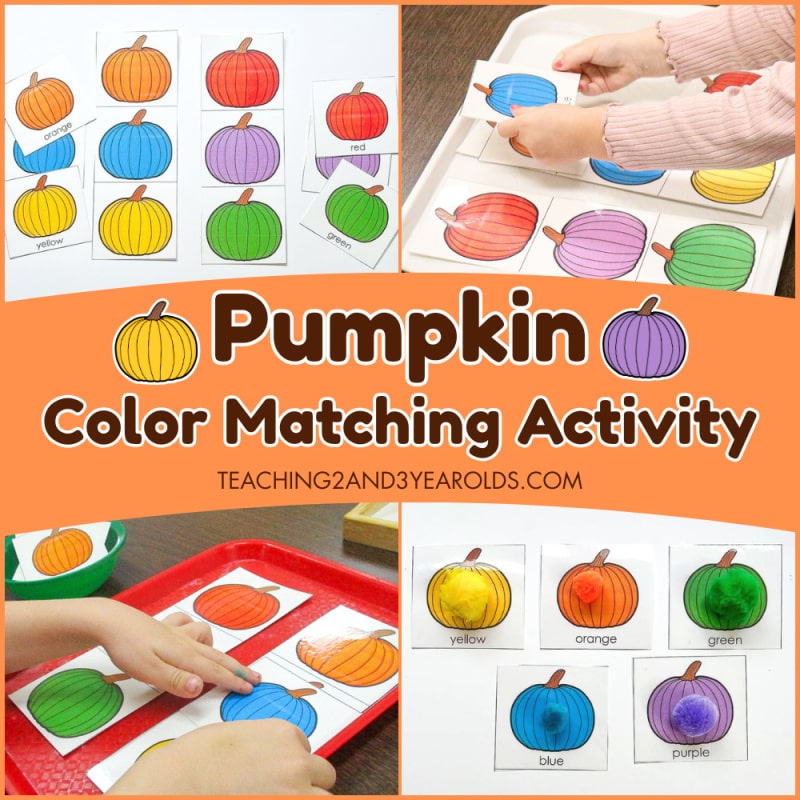
Pumpkin Color Matching Circle Time Activity
- Adaptable for Toddlers
- Can Also Be Used in Small Groups and Independently
Step One: Painting the Pumpkin
Preparation
Trace a simple pumpkin shape on the cardboard and cut out using the Xacto knife.
Pour paint into containers and add paintbrushes.
Set Up
Place pumpkin on the art table along with containers of paint and paintbrushes.
The Activity
Have your children paint the pumpkin.
Note: You can use paint rollers in place of brushes if you want more coverage. Sometimes two year olds don’t have the attention span to paint large spaces, so I always have rollers on hand just in case.
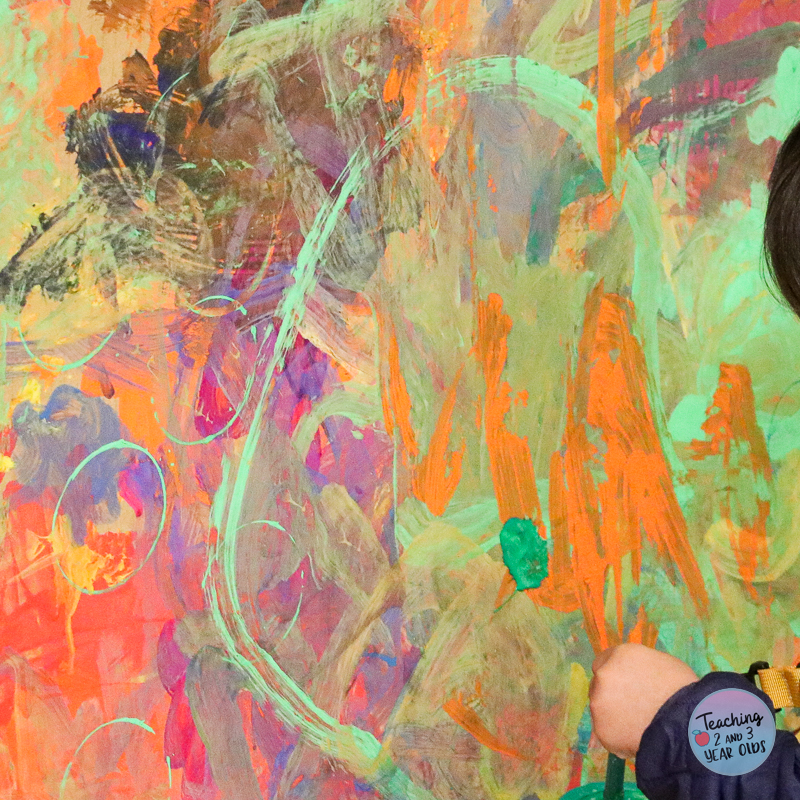
Let the pumpkin dry before proceeding to step two, which we did on the following school day.
Step Two: Adding the Collage Pieces
Preparation
Collect collage pieces. Some ideas:
- Paper
- Fabric
- Felt
- Pom poms
- Feathers
We also used pumpkin seeds.
I tried to find pieces that complimented the paint colors.
Set Up
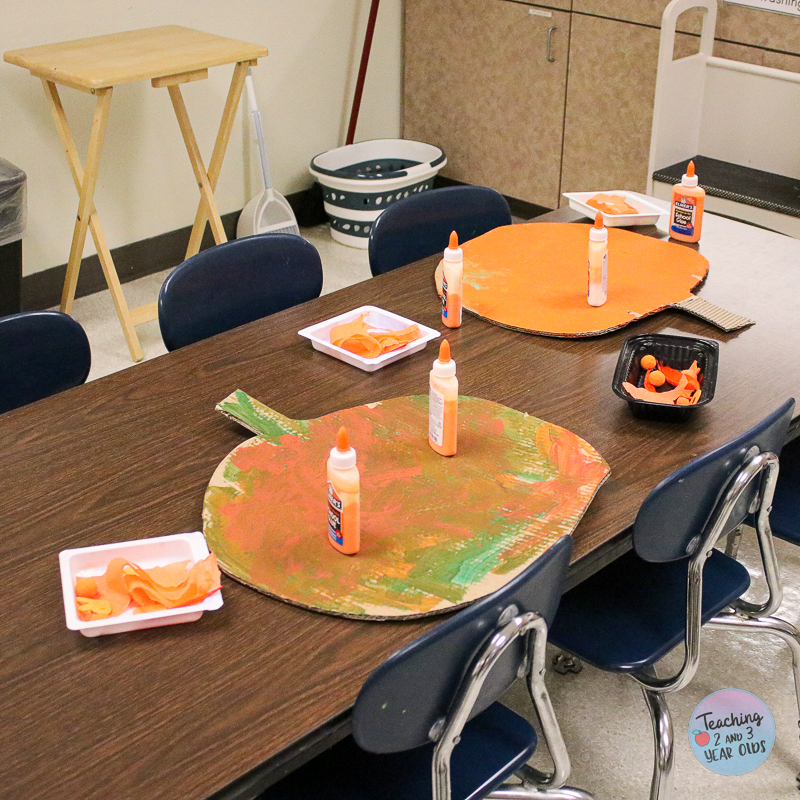
Place painted pumpkin, collage pieces, and glue bottles on the art table.
Note: I love using tinted glue, and I had leftover orange tinted glue from a previous project.
Tinted Glue
Squirt some tempera paint into the bottle of glue to desired strength. If the bottle is full, it will be harder to shake and mix the paint well, but I just go with it.
The Activity
Give the children glue bottles and have them squirt the glue on top.
If this is their first time using glue bottles, make sure they know to hold the bottle upside down and squeeze with two hands.
Usually young children cannot squeeze hard enough to cause a flood of glue, but sometimes (depending on the child’s hand strength) it happens. Just twist the cap to close it a bit, slowing down the flow of the glue.
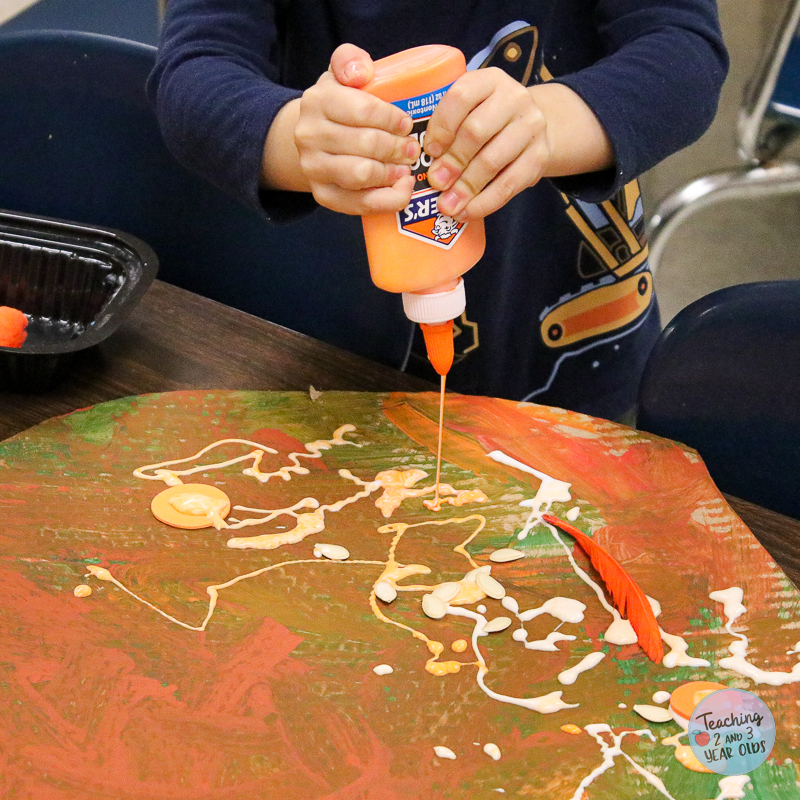
Then, press the pieces on top of the glue.
Make sure your children understand that the pieces will only stick if they are stuck to the glue, not just the cardboard.
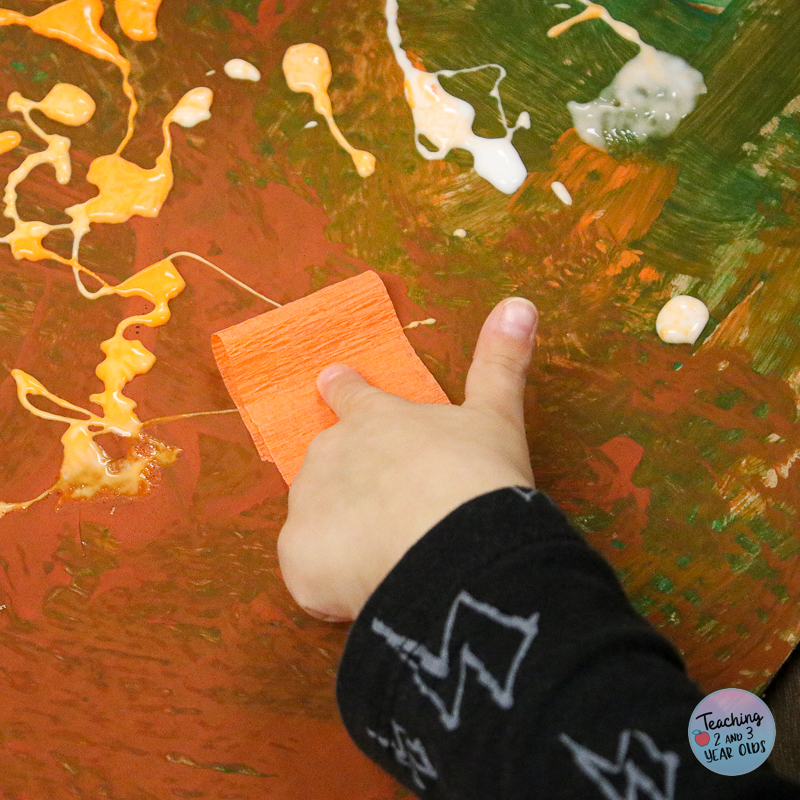
And that’s it! I told you it was easy!
Display in the classroom for some fun fall decor!
More Activities for the Pumpkin Theme
- Fine Motor: Washing Pumpkins
- Colors: Pumpkin Color Matching
- Math: Pumpkin Counting
- Water Table: Fine Motor Pumpkin Water Table
- Art: Pumpkin Collage
- Sensory: Pumpkin Sensory Table
- Circle Time: Pumpkin Props
- Cooking: Pumpkin Muffins
You can see more here: A Week’s Worth of Pumpkin Activities



FREE CIRCLE TIME PLANNER!
Get your FREE circle time planner as a gift when you subscribe to my free weekly newsletters.
Here is my Privacy Policy
