
Last Updated on August 29, 2026 by Sheryl Cooper
Inside: After admiring real cherry blossom trees during the spring, create your own using a branch and tissue paper!
We know it’s spring when the cherry blossoms bloom outside our classroom door!
I brought a few branches of blossoms indoors and we admired the pink colors and shapes of the leaves.
What if we made our own cherry blossoms?
I gathered tissue paper in assorted pink colors and a big bare branch.
We could put our own flowers on a branch and display it on our shelf!
It was fun to create and even more fun to admire each day.
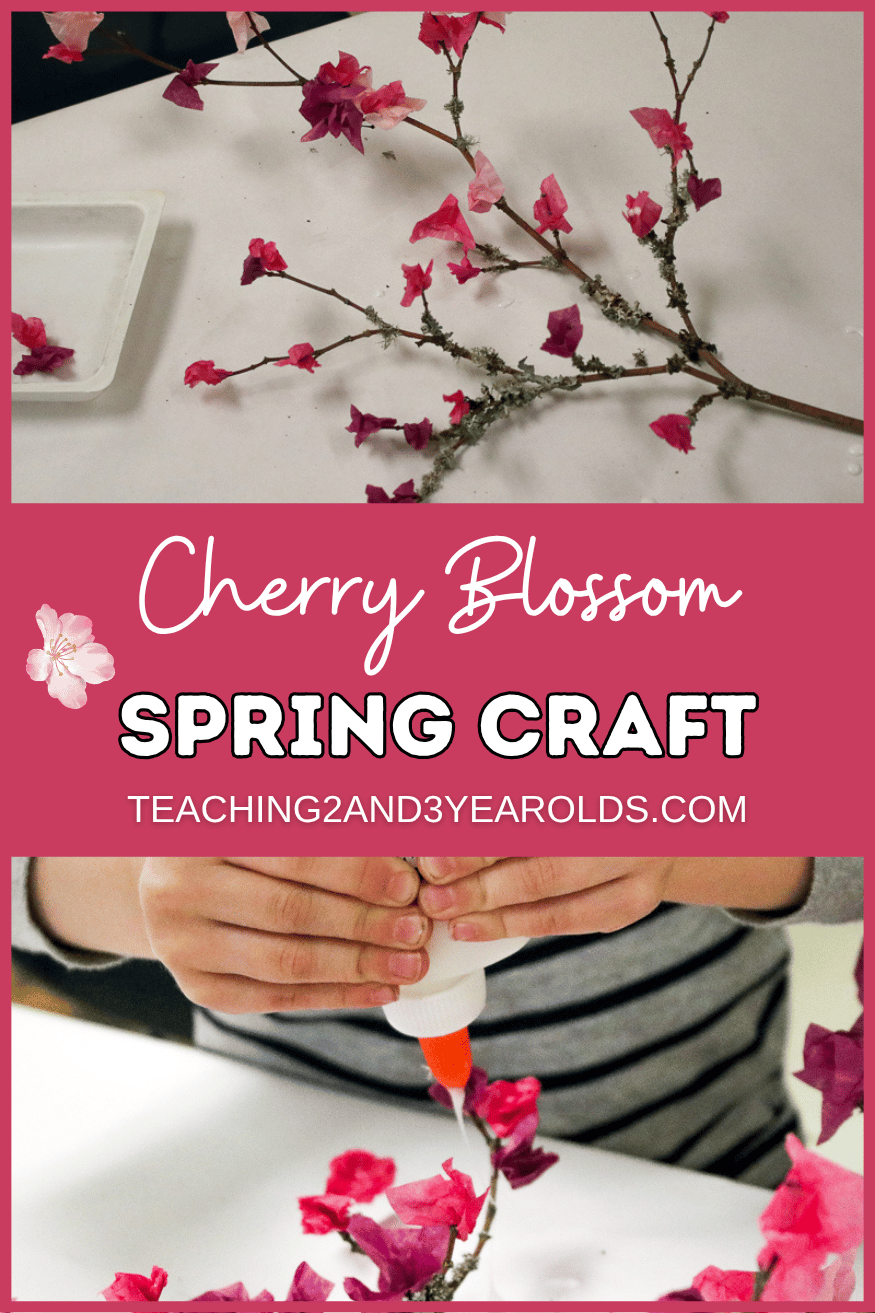
Cherry Blossom Craft for Preschoolers
Supplies
- Tissue paper squares in assorted pink colors
- Plain branch
- Squeeze bottles of white glue
- Roll of white paper to protect table (or vinyl tablecloth)
Watch the Video
Preparation
The tissue paper squares need to be wadded. This would be an excellent job for preschoolers – it could even be done on a separate day as a fine motor activity. For toddlers, scrunch the tissue paper ahead of time (or let those who are able help you do this).
Place the tissue paper in containers.
Cover the table with paper or a vinyl tablecloth to protect it from the glue drips.
Place the branch, tissue paper, and bottles of glue on the table.
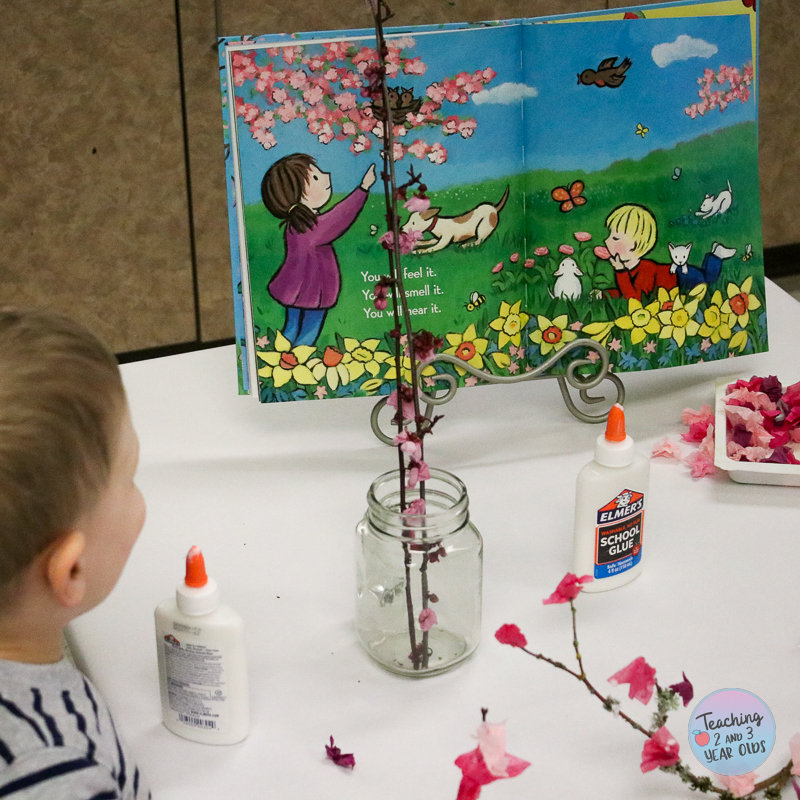
Display a Real Cherry Blossom Branch
Place a real cherry blossom branch on the table so the children can see all the shades of pink.
I also displayed an illustration of a cherry blossom tree from the book When Spring Comes. (I suggest reading the book at circle time before this activity.)
Set Up
Cover table with paper or a vinyl tablecloth.
Place branch in the middle of the table (making sure all the children can reach it).
Set containers of wadded tissue paper squares on the table along with bottles of glue.
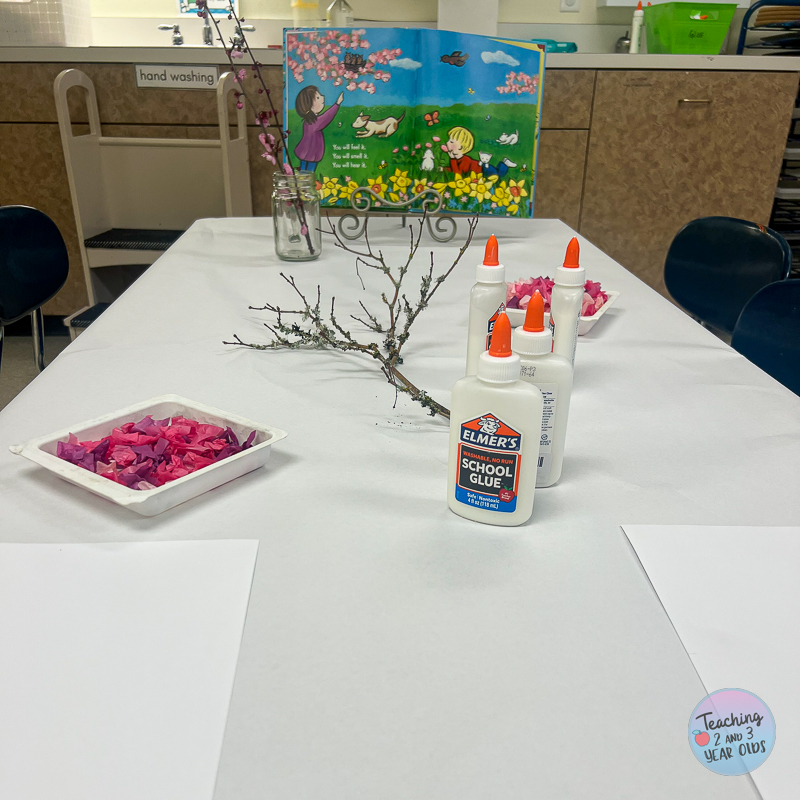
Note: I also placed some plain white sheets of paper at a couple of the spots in case anyone wanted to glue extra tissue paper squares on them.
The Activity
It’s time to add the blossoms to the branch!
Show your children the real cherry blossoms and explain you are going to make your own using the tissue paper.
They will first need to squeeze the glue on the branch and then add the tissue paper.
If this is your children’s first time squeezing glue, show them how to face the bottle upside down, so that the top is closest to the object. Use two hands to press on the bottle.
If the flow is too fast, twist the cap to close it a bit.
Watch: Why Squeezing Glue is So Important
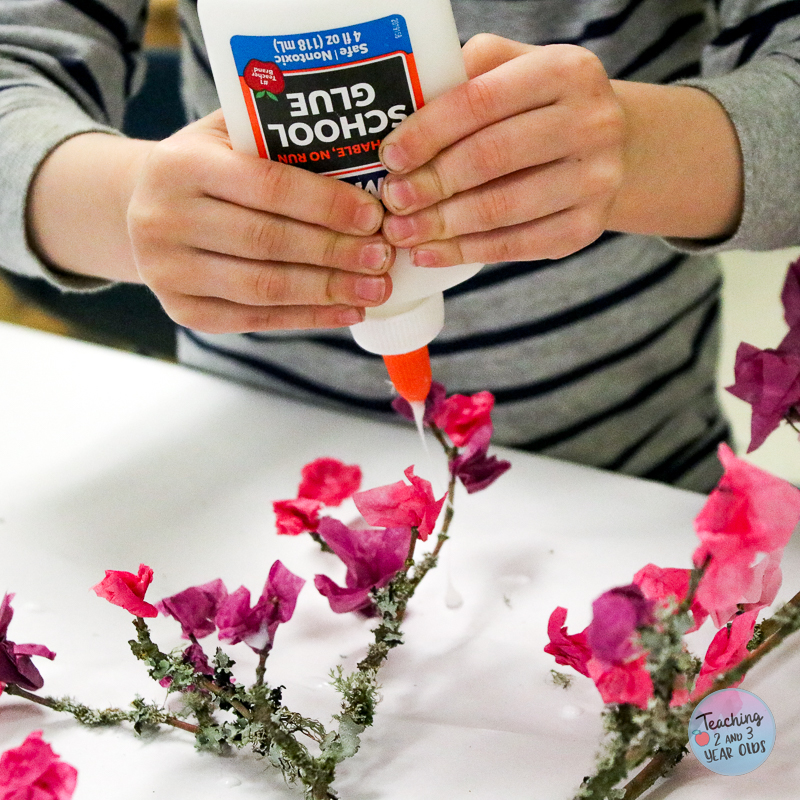
It might take younger children awhile to understand that they must press the wads of tissue paper on the glue or they won’t stick.
They also might just want to squeeze the glue and not add the tissue paper, so make sure to remind them!
However, squeezing glue by itself is a good fine motor activity!
Related: 17 Squeezing Activities for Fine Motor Development
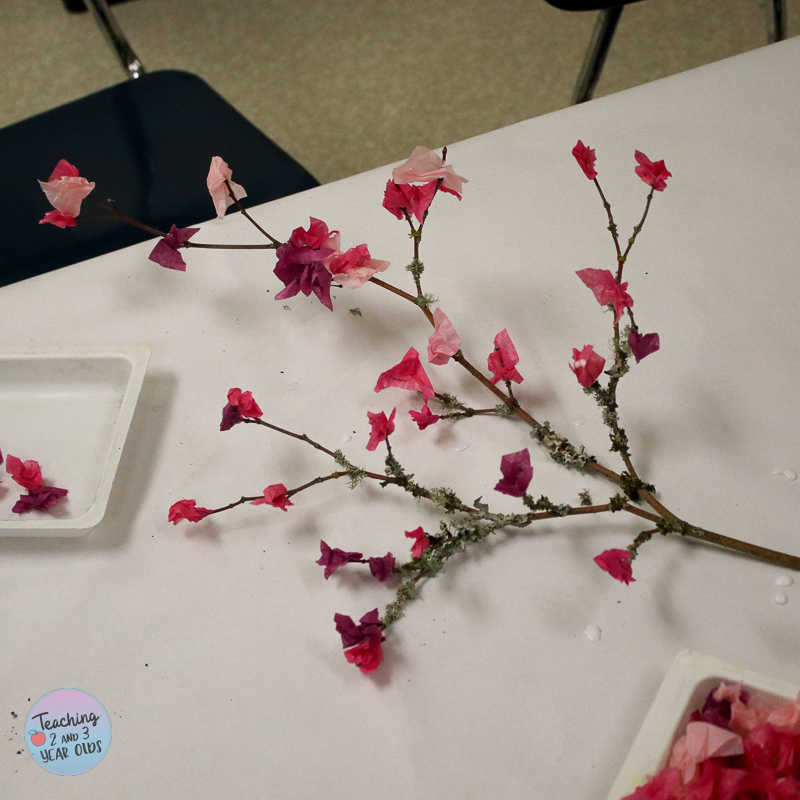
When finished, allow the tissue paper squares to dry on the branch on a flat surface.
Then you can display it however you wish.
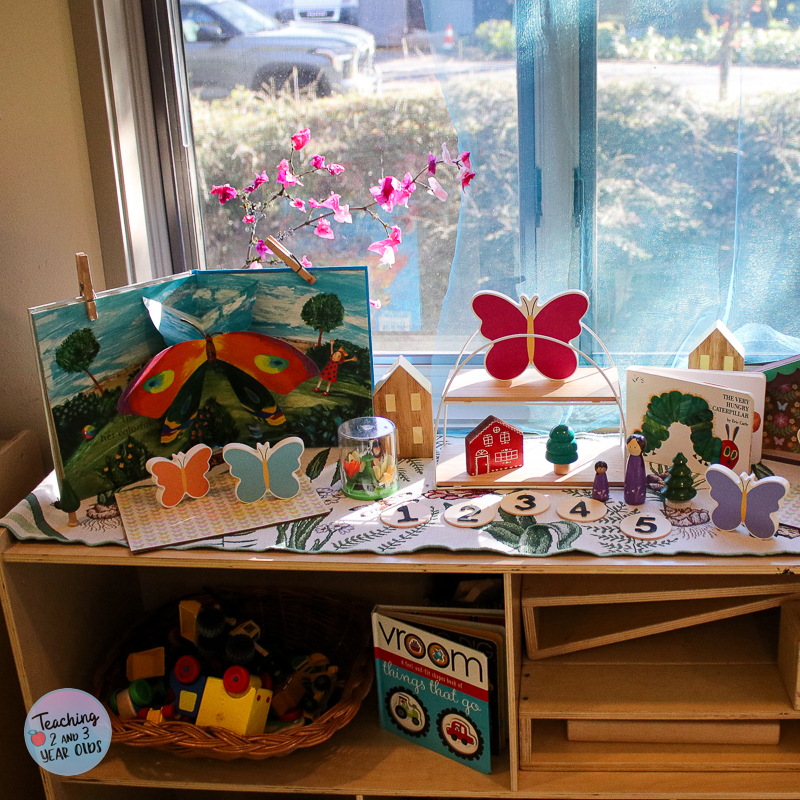
Displaying the Cherry Blossom Branch
We placed our branch upright in a container on our spring shelf. When the morning light came through the window the branch looked beautiful!
More Spring Activities

Flower Color Matching
- Circle Time
- Small Groups


FREE CIRCLE TIME PLANNER!
Get your FREE circle time planner as a gift when you subscribe to my free weekly newsletters.
Here is my Privacy Policy
